Archive

Domain Auto-Renewal: How to Avoid Losing Your Domain

Imagine waking up one morning and realizing your website is no longer accessible because your domain name expired. Scary, right? Unfortunately, this happens to many website owners who forget to renew their domains on time. Losing a domain can mean losing website traffic, search engine rankings, and even your brand identity.

That’s where domain auto-renewal comes in. By enabling this feature, you can ensure your domain name stays active without having to manually track renewal dates.

What is Domain Auto-Renewal?

Domain auto-renewal is a feature that automatically renews your domain name before it expires. Instead of receiving multiple reminders and risking a missed payment, your registrar will charge the payment method linked to your account and keep your domain secure.

It’s like setting your bills to autopay — convenient, secure, and stress-free.

Why is Auto-Renewal Important?

Here are some reasons you should always enable auto-renewal:

  1. Prevent Domain Loss – Once a domain expires, anyone can buy it. Losing your domain could damage your brand and cost you more to recover it.

  2. Avoid Website Downtime – Expired domains take your website offline, affecting traffic and customer trust.

  3. Protect Your Email Accounts – If your emails run on your domain, expiration can cause email disruption.

  4. Save Time – No more manually checking dates and invoices.

  5. Peace of Mind – Focus on your business without worrying about renewals.


How to Enable Domain Auto-Renewal

Enabling auto-renewal is simple:

  1. Login to Your Hosting Account – Go to your domain management dashboard.

  2. Select Your Domain – Find the domain you want to secure.

  3. Enable Auto-Renewal – Turn on the auto-renewal toggle or checkbox.

  4. Update Payment Method – Ensure your credit/debit card or PayPal account is up to date.

  5. Confirm – Once enabled, your domain will renew automatically each cycle.

💡 Tip: Always keep your billing details current to avoid failed renewal attempts.

Best Practices for Domain Management

  • Enable multi-year renewals if possible.

  • Use reminders in addition to auto-renewal for extra safety.

  • Consolidate your domains under one hosting provider to make management easier.

  • Choose a reliable registrar that offers flexible domain management tools.

Why Choose a Trusted Provider?

While many registrars offer auto-renewal, choosing a reliable hosting provider ensures your domain and hosting are secure in one place. For example, at Sternhost, customers enjoy simple domain management, secure billing, and peace of mind knowing their domains are safe.

By managing both your hosting and domains in one dashboard, you can reduce risks and focus on growing your online presence.

Conclusion

Losing a domain can be costly and stressful — but it’s 100% preventable. Enabling domain auto-renewal is the smartest way to ensure your website, email, and brand remain online without interruption.

Don’t wait until it’s too late — log into your account today, enable auto-renewal, and secure your domain’s future.

👉 Ready to manage your domain with ease? Visit Sternhost and enjoy simple, reliable domain management.


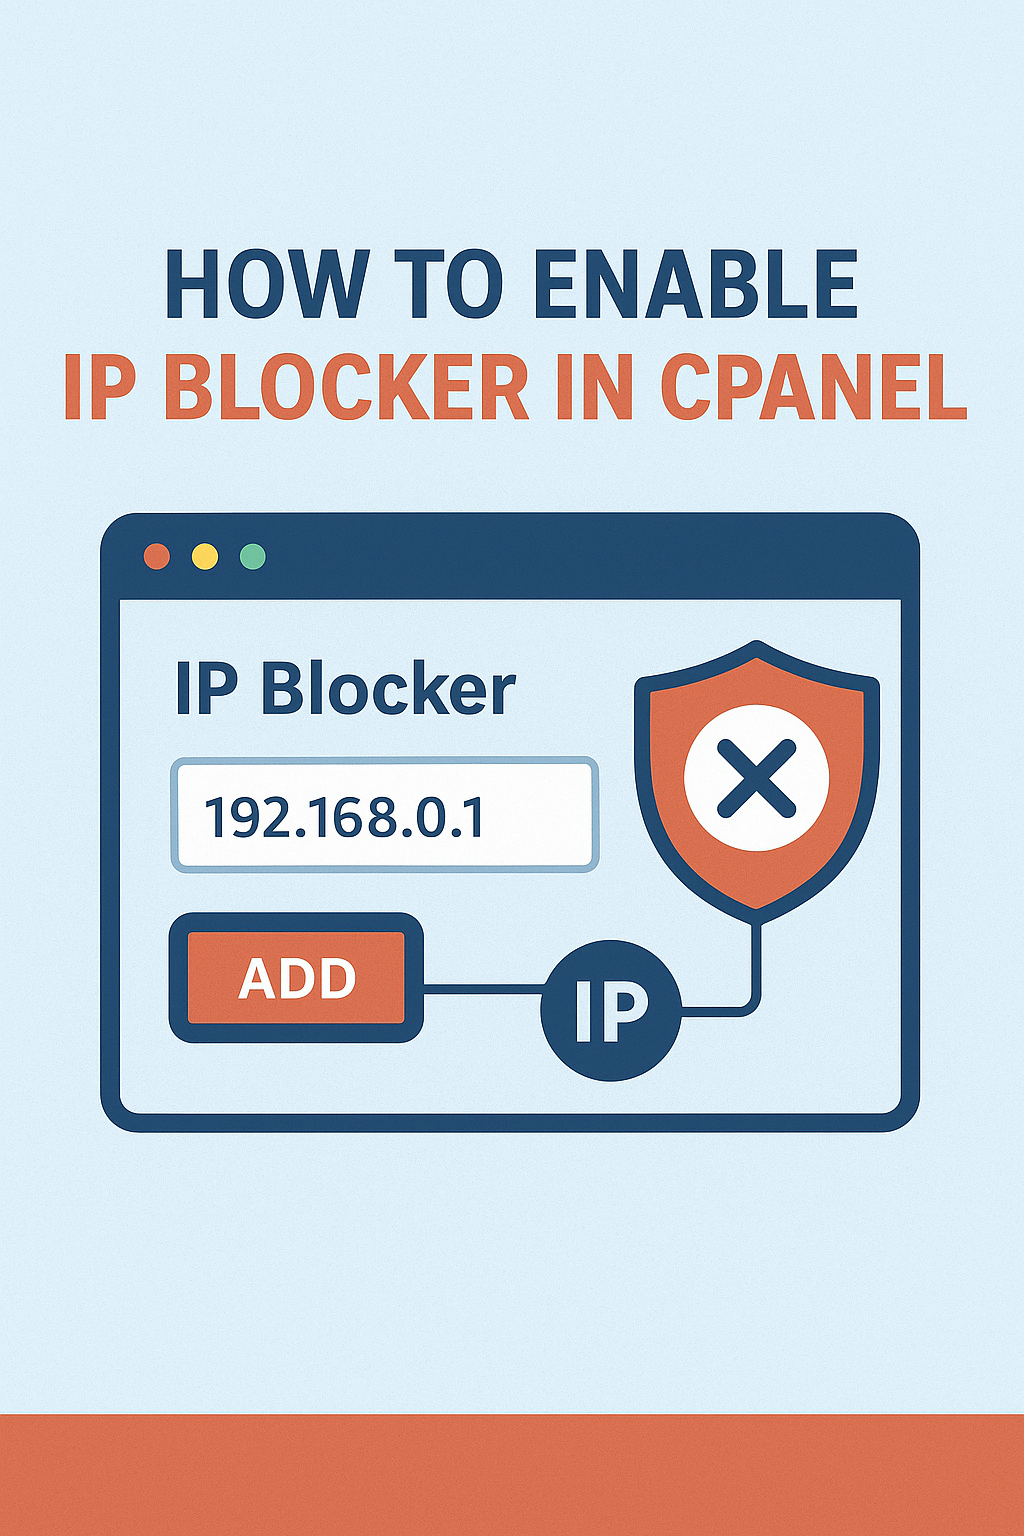
How to Enable IP Blocker in cPanel: Step-by-Step Guide

Website security is one of the most important responsibilities of every website owner. A common way to safeguard your site is by restricting access from suspicious or malicious IP addresses. Thankfully, cPanel makes this process simple through its IP Blocker tool.

In this guide, we’ll walk you through how to enable and use the IP Blocker in cPanel to protect your website effectively.

What is the IP Blocker Tool in cPanel?

The IP Blocker in cPanel allows you to deny access to your site from specific IP addresses or ranges. For example:

  • Blocking a suspicious IP that attempts multiple logins.

  • Preventing spam bots from accessing your pages.

  • Restricting certain regions from visiting your website.

This feature is essential for keeping your website secure and maintaining smooth performance.

Steps to Enable IP Blocker in cPanel

  1. Login to Your cPanel Account
    Use your hosting credentials to access the cPanel dashboard. If you are with a reliable provider like Sternhost, simply log in through your client portal.

  2. Locate the IP Blocker Tool
    Scroll down to the Security section and click on IP Blocker.

  3. Enter the IP Address to Block

    • You can input a single IP (e.g., 192.168.0.1).

    • A range of IPs (e.g., 192.168.0.1-192.168.0.40).

    • Or use CIDR format (e.g., 192.168.0.1/32).

  4. Click Add
    Once added, cPanel will immediately block that IP from accessing your website.

  5. Manage Blocked IPs

    • You can view all blocked IPs in the list.

    • Remove them anytime if you want to restore access.


Why Use IP Blocker for Security?

  • Prevent brute force login attempts.

  • Block scrapers and spammers.

  • Reduce server load caused by malicious traffic.

  • Ensure a safer browsing experience for legitimate visitors.

When paired with reliable hosting infrastructure—like the optimized servers at Sternhost—your website remains fast, secure, and always online.

Final Thoughts

Enabling the IP Blocker in cPanel is a simple yet powerful step toward improving your website security. Whether you’re stopping a single suspicious visitor or shielding your site from repeated attacks, this tool gives you control at your fingertips.

If you want hosting that comes with robust cPanel features and expert support, consider Sternhost for your website. Their hosting plans are designed to keep your website secure, fast, and reliable.

✅ With these steps, you can now protect your website from unwanted visitors using the cPanel IP Blocker tool.

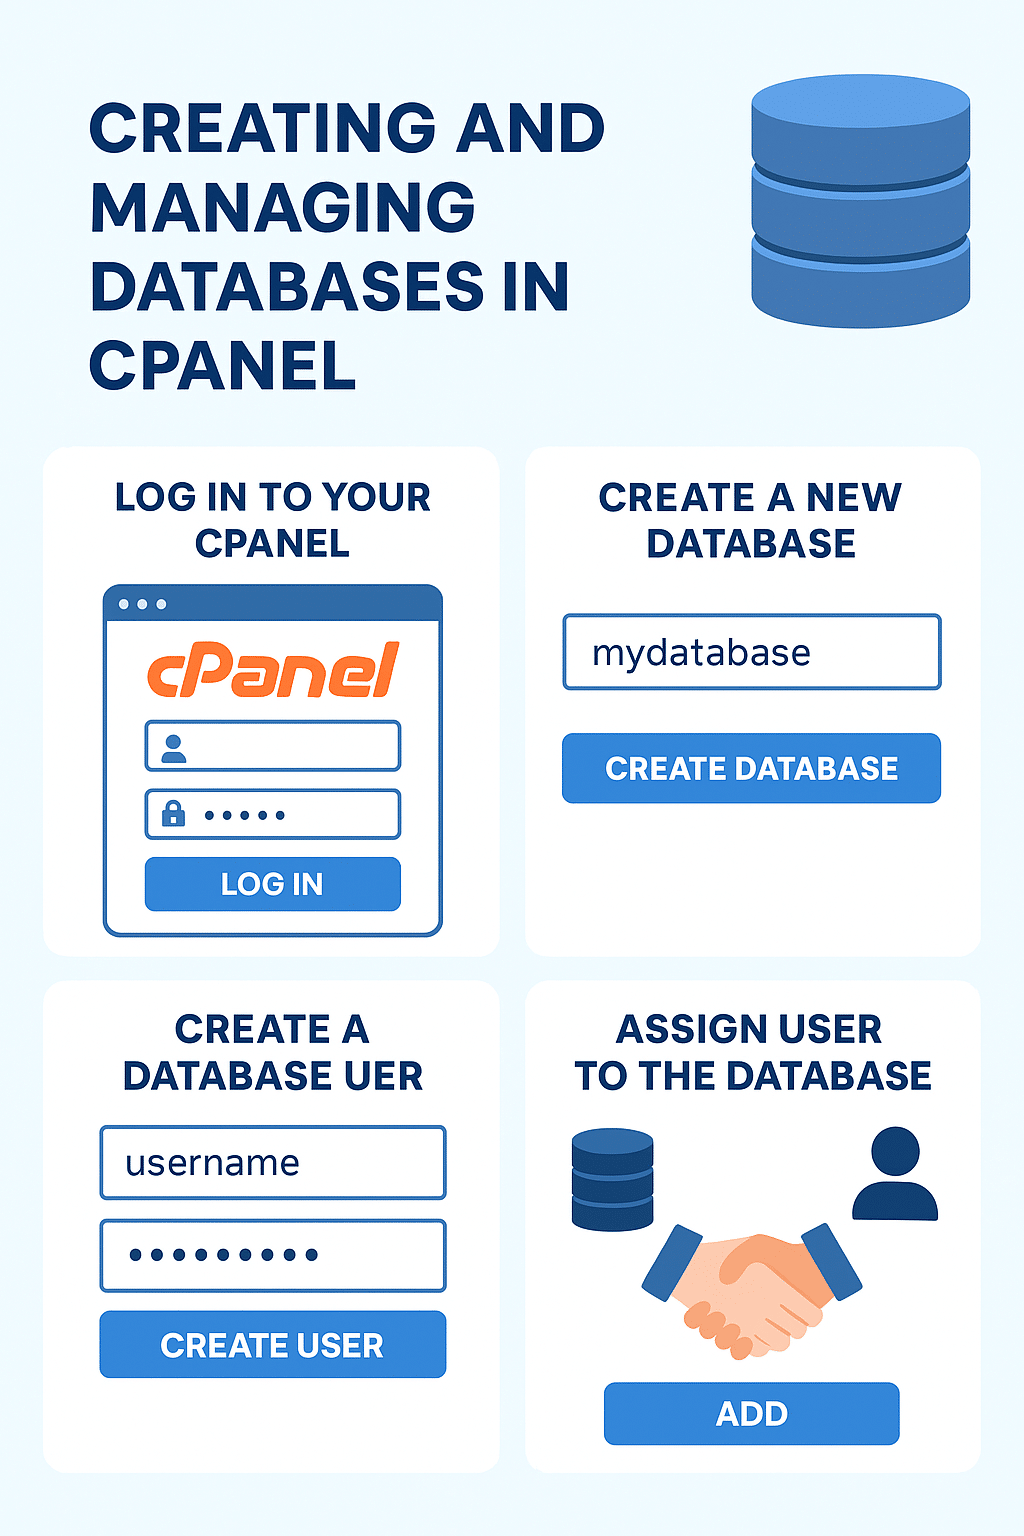
Creating and Managing Databases in cPanel: A Step-by-Step Guide

Every modern website relies on a database to store and organize information, whether it’s user accounts, blog posts, product listings, or even simple content. Managing databases may sound technical, but with cPanel, it’s straightforward.

In this guide, you’ll learn how to create and manage databases in cPanel, step by step. If you’re running your website with a reliable hosting provider like Sternhost, these steps will be smooth and hassle-free.

Step 1: Log in to Your cPanel

  • Access your cPanel dashboard using the login details from your hosting provider.

  • Look for the Databases section—this is where all your database tools are located.


Step 2: Create a New Database

  1. Under the Databases section, click MySQL® Databases.

  2. Enter a name for your database in the “Create Database” field.

  3. Click Create Database.

✅ Your new database is now set up!

Step 3: Create a Database User

  1. Scroll down to MySQL Users.

  2. Enter a username and password for your database user.

    • Use a strong password to secure your data.

  3. Click Create User.


Step 4: Assign User to the Database

  1. Under Add User to Database, select your new user and database.

  2. Click Add.

  3. Assign privileges (usually select All Privileges).

  4. Save changes.

🔐 Now your user has permission to access and manage the database.

Step 5: Managing Databases

Once created, you can manage your database in multiple ways:

  • phpMyAdmin: Found under cPanel’s Databases section, this tool lets you view, edit, and export/import database data.

  • Backup & Restore: Always back up your databases before making big changes.

  • Optimization: Use the “Repair” or “Optimize” options in phpMyAdmin to keep things running smoothly.


Why This Matters for Your Website

Proper database management ensures that your site runs smoothly, loads quickly, and avoids crashes. Whether you’re setting up WordPress, Joomla, or a custom site, database organization is essential.

That’s why choosing the right hosting provider matters. A service like Sternhost ensures you get a fast, secure, and user-friendly cPanel experience, making database management much easier.

👉 Looking for hosting that gives you both power and simplicity? Explore Sternhost’s hosting plans.

Final Thoughts

Creating and managing databases in cPanel isn’t as complex as it sounds. With the right steps, you can set up and maintain your site’s data like a pro.

By choosing a hosting provider that offers a robust cPanel system, you’ll not only save time but also enjoy peace of mind knowing your website is in good hands.

How to Migrate Email Accounts Between Hosting Providers

Switching hosting providers can be exciting, especially if you’re moving to a faster, more reliable service. But one of the biggest concerns for businesses and individuals alike is migrating email accounts without losing important data.

The good news? With the right steps, you can smoothly transfer your email accounts and keep your communication intact.

Why Email Migration Matters

Your email is the backbone of your business communication. Losing access—or worse, losing valuable emails—can disrupt workflow, customer service, and even reputation. That’s why migrating carefully is crucial when moving to a new hosting provider.

Step-by-Step Guide to Email Migration

1. Backup Existing Emails

Before initiating the migration, always create a backup.

  • If you’re using cPanel, you can download email data from the File Manager under the /mail/ directory.

  • If you’re using an email client (like Outlook, Thunderbird, or Apple Mail), export your mailbox to a .pst or .mbox file.

2. Create Email Accounts on the New Hosting Provider

Set up the same email addresses (e.g., info@yourdomain.com) on your new hosting account. Make sure the usernames and passwords match the old accounts to simplify migration.

3. Update DNS (MX Records)

Log in to your domain registrar and update your MX Records to point to your new hosting provider. This ensures incoming emails start arriving at the new server.
👉 DNS changes may take up to 24 hours to propagate.

4. Migrate Existing Emails

You have a few methods here:

  • IMAP Sync: Tools like imapsync can transfer emails between two servers.

  • Email Client Copying: Connect both old and new accounts in an email client, then drag and drop emails between folders.

  • cPanel Transfer: If both hosts use cPanel, you can copy over the /mail/ and /etc/ directories directly.

5. Test Your Accounts

Send and receive test emails to confirm everything is working. Don’t forget to check attachments, folders, and spam settings.

Pro Tips for a Smooth Email Migration

  • Perform the migration during off-peak hours to avoid disruption.

  • Keep your old hosting account active for at least 48 hours to catch any stray emails during DNS propagation.

  • Communicate with your team to ensure everyone updates their email client settings if needed.

Choosing a Host That Makes Migration Easy

Not all hosts make migration painless. Look for providers that offer:

  • Free migration assistance

  • cPanel/DirectAdmin support for easier transfers

  • 24/7 customer support for troubleshooting

👉 That’s why many businesses choose Sternhost—a hosting provider that not only gives you reliable web hosting but also assists with smooth email migrations so you never lose a message.

Conclusion

Migrating email accounts between hosting providers doesn’t have to be stressful. With proper backups, the right tools, and a reliable host that offers support, you can make the switch with confidence.

If you’re ready to upgrade your hosting experience while keeping your email communications intact, check out Sternhost today.

Updating Your Contact Information in the Client Portal

Keeping your contact information up to date is crucial to ensure that you receive important notifications, billing reminders, and service updates from your hosting provider. Outdated information can lead to missed alerts or disruptions in service. Fortunately, updating your details in the client portal is a quick and simple process.

Why It’s Important

  • Billing & Invoices – Ensure invoices and receipts are sent to the correct email.

  • Domain & Hosting Renewals – Avoid accidental expiration due to missed renewal notices.

  • Security Alerts – Receive notifications about logins, suspicious activities, or support replies.


How to Update Your Contact Information

Step 1: Log in to the Client Portal

  • Visit the login page of your hosting provider’s client portal.

  • Enter your email address and password to access your account.


Step 2: Navigate to Profile or Account Settings

  • Once logged in, locate the Account Settings or Profile section.

  • This is usually accessible from the top-right corner under your account name.


Step 3: Update Your Details

  • Edit fields such as:

    • Email Address

    • Phone Number

    • Billing Address

    • Emergency Contact (if available)

  • Double-check for typos to avoid issues with notifications.


Step 4: Save Changes

  • Click the Save or Update Information button.

  • Some portals may send a verification link to confirm your new email.


Step 5: Verify Information

  • Check your inbox or phone for any verification message.

  • Complete the verification process to finalize the update.

Best Practices for Sternhost Clients

✔️ Review your contact details every 3–6 months.
✔️ Always use a primary email address (avoid temporary or inactive ones).
✔️ Enable Two-Factor Authentication (2FA) in your Sternhost portal for maximum account protection.

Final Thoughts

At Sternhost, we make hosting simple and reliable. By keeping your contact information updated, you ensure uninterrupted access to your services and never miss an important update.

👉 Log in to your Sternhost Client Portal today and review your details.

How to Configure AutoDJ in SHOUTcast

AutoDJ is one of SHOUTcast’s most useful features, allowing you to broadcast music or other pre-recorded content automatically without being connected to the server live all the time. This is perfect for keeping your station running 24/7 and ensuring your listeners always have something to enjoy.

In this guide, we’ll walk you through configuring AutoDJ in SHOUTcast, step-by-step.


Why Use AutoDJ?

  • 24/7 Broadcasting – Keep your station online even when you’re offline.
  • Bandwidth Saving – Your music streams directly from the server, not your PC.
  • Professional Presentation – No gaps or silence for your listeners.
  • Scheduling Flexibility – Preload playlists and let the system handle the rest.


Step 1: Log into Your SHOUTcast Control Panel

1. Go to your SHOUTcast hosting account’s control panel.
2. Enter your username and password.
3. Look for the AutoDJ Management section.

> Tip: If you’re with Sternhost, you can access SHOUTcast AutoDJ from your client area for quick setup.


Step 2: Enable AutoDJ

1. In the control panel, find the AutoDJ status.
2. Click Enable AutoDJ if it’s currently off.
3. Select your preferred bitrate and streaming format (MP3 or AAC+).


Step 3: Upload Your Music Files

1. Go to the Media Library or File Manager.
2. Upload MP3 files (make sure they are properly tagged with artist/title).
3. Keep your file names organized for easy playlist creation.


Step 4: Create Your Playlist

1. Navigate to Playlist Manager.
2. Create a new playlist and give it a name (e.g., “Main Rotation”).
3. Add your uploaded tracks to the playlist.
4. Set the playback order — Shuffle, Loop, or Sequential.


Step 5: Configure Playlist Settings

1. Choose General Rotation for regular play or Scheduled for specific times.
2. If you want announcements, add Jingles between tracks.
3. Save your playlist.


Step 6: Start AutoDJ

1. Go to the AutoDJ control screen.
2. Click Start AutoDJ.
3. Wait for the server to begin streaming your playlist.


Step 7: Test Your Stream

  • Open your station’s public streaming link.
  • Make sure your AutoDJ is playing the correct music without interruptions.
  • Adjust volume, crossfade, or track order if needed.


Troubleshooting AutoDJ Issues

  • No Sound? – Ensure your files are in MP3 format and properly encoded.
  • Playlist Won’t Play? – Check that AutoDJ is started and assigned to your mount point.
  • Tracks Skipping? – Re-upload files or check for corrupted MP3s.


Conclusion

Setting up AutoDJ in SHOUTcast is an easy way to keep your internet radio active and professional. With the right playlists and scheduling, your station can run smoothly 24/7 without you having to be live all the time.

If you’re hosting with Sternhost, our SHOUTcast hosting plans come with an easy-to-use AutoDJ feature, fast uploads, and 99.9% uptime — perfect for keeping your listeners tuned in.

How to Unlock a Domain for Transfer

If you’re planning to move your domain from one registrar to another, the first step is to unlock your domain. By default, domains are locked to prevent unauthorized transfers, so you’ll need to disable this lock before initiating the transfer process.

This guide will walk you through how to unlock your domain for transfer using your domain management panel.


Why Domains Are Locked

Domain locking is a security feature that prevents unauthorized or accidental domain transfers. It’s an ICANN-recommended practice and is automatically enabled when you register or transfer a domain.

To proceed with a transfer, you must manually unlock it.


Step-by-Step: Unlocking Your Domain for Transfer

1. Log in to Your Domain Management Panel

  • Go to your hosting or domain registrar’s dashboard.
  • Use your account credentials to sign in.


2. Locate Your Domain

  • Navigate to the Domains section.
  • Select the domain name you wish to transfer.


3. Check the Lock Status

  • Look for a status like “Domain Lock: Enabled” or “Registrar Lock: On”.
  • If it’s enabled, you’ll need to turn it off.


4. Disable the Lock

  • Click the option to Unlock Domain or Disable Registrar Lock.
  • Confirm the action when prompted.


5. Retrieve Your Authorization Code (EPP Code)

Most registrars require this code for a domain transfer.

  • Find the EPP/Auth Code section in your domain settings.
  • Copy the code and keep it secure — you’ll need it when initiating the transfer with the new registrar.


6. Proceed with the Transfer

Once unlocked, you can start the transfer process at your new registrar.
Important: The domain will remain unlocked until the transfer completes or you manually lock it again.


Tips and Common Issues

  • Wait Period: Domains cannot be transferred within the first 60 days of registration or after a recent transfer (ICANN rule).
  • WHOIS Privacy: Some registrars require you to disable WHOIS privacy before transfer.
  • Email Address: Ensure the domain’s administrative contact email is correct to receive transfer approval messages.


Final Thoughts

Unlocking your domain is an essential step for transferring it to another registrar. Just remember to re-lock it if you decide not to proceed with the transfer to keep your domain secure.

How to Add TXT Records for Domain Verification in cPanel

If you’ve ever needed to verify your domain ownership for services like Google Workspace, Microsoft 365, or SSL certificate issuance, you’ve probably been asked to add a TXT record to your domain’s DNS. In this guide, we’ll walk you through the step-by-step process of adding TXT records using cPanel.


What is a TXT Record?

A TXT (Text) record is a type of DNS record that allows you to store text information in your domain’s DNS. They’re commonly used for:

  • Domain verification (Google, Microsoft, email marketing services)
  • Email authentication (SPF, DKIM, DMARC)
  • Other custom configurations


Steps to Add a TXT Record in cPanel

1. Log in to cPanel

Access your hosting account’s cPanel dashboard.
Example: `https://yourdomain.com/cpanel`


2. Open the Zone Editor

  • In the Domains section, click Zone Editor.
  • Find the domain you want to verify and click Manage.


3. Add a TXT Record

  • Click the + Add Record button and choose Add TXT Record.
  • Fill in the details:
  • Name: This is usually your domain name, but the verification service will provide the exact value.
  • TTL: You can leave it as default (e.g., 14400 seconds).
  • Record: Paste the TXT value provided by your verification service.


4. Save Your Changes

Click Save Record to apply the changes.


5. Wait for DNS Propagation

Changes can take a few minutes to 24 hours to propagate worldwide. You can use tools like:


Troubleshooting Tips

  • Make sure there are no typos in the TXT value.
  • Only include the exact value — no extra spaces.
  • If using Cloudflare or another DNS provider, you must add the TXT record there instead of cPanel.


Final Thoughts

Adding a TXT record for domain verification is quick and straightforward once you know where to look in cPanel. With the record in place, you can verify your domain and start using the service you’re setting up — whether it’s email, analytics, or security-related.

How to Fix “Domain Not Found” or DNS Errors

If you type your website’s address into a browser and see a “Domain Not Found” message or encounter DNS (Domain Name System) errors, it can be frustrating — especially if your site is live and you depend on it for business or communication.

Don’t panic. In most cases, these issues can be fixed quickly once you identify the cause. In this guide, we’ll explain what these errors mean, why they happen, and how you can resolve them.


🔍 What Does “Domain Not Found” Mean?

When you enter a domain name (like `example.com`), your browser needs to find the server where your website is hosted. The DNS works like the internet’s phonebook, translating your domain name into the server’s IP address.

If there’s a problem in this process, you’ll see messages like:

  • “Domain Not Found”
  • “Server IP Address Could Not Be Found”
  • “DNS\_PROBE\_FINISHED\_NXDOMAIN”


 ⚠️ Common Causes of Domain Not Found or DNS Errors

1. DNS Propagation Delay

When you register a new domain or update DNS records, it can take up to 48 hours for changes to propagate worldwide.

2. Incorrect DNS Records

If your domain’s A record, CNAME, or nameservers are incorrect, your site won’t be reachable.

3. Expired Domain Name

If your domain registration has expired, visitors won’t be able to reach your website.

4. Nameserver Misconfiguration

If you’re using custom nameservers but they’re not set up properly, DNS resolution will fail.

5. Hosting Server Issues

Even if DNS is correct, a server outage can cause your domain to appear offline.


How to Fix Domain Not Found or DNS Errors

1️⃣ Check Your Domain’s Registration Status

  • Use a WHOIS lookup tool to confirm your domain is active and not expired.
  • Renew your domain if needed.

2️⃣ Verify Your Nameserver Settings

  • Log in to your domain registrar’s control panel.
  • Ensure your nameservers point to your hosting provider’s correct details.
    Example:

“`
ns1.sternhost.net
ns2.sternhost.net
“`

3️⃣ Review Your DNS Records

  • In your hosting cPanel or DNS manager, confirm your A record points to your hosting server’s IP.
  • Check CNAME and MX records if using email services.

4️⃣ Allow Time for DNS Propagation

  • After making changes, wait up to 48 hours for global propagation.
  • Use tools like WhatsMyDNS.net to track updates.

5️⃣ Clear Your Local DNS Cache

  • Windows: Open Command Prompt and type:

“`
ipconfig /flushdns
“`

  • Mac: Use Terminal:

“`
sudo killall -HUP mDNSResponder
“`

 6️⃣ Contact Your Hosting Provider

If everything seems correct but your site is still down, your hosting provider may need to investigate server-side issues.


💡 Pro Tips to Prevent Future DNS Issues

  • Keep your domain registration and hosting active.
  • Use a reliable DNS provider with global coverage.
  • Document your DNS settings before making changes.
  • Enable DNSSEC for better domain security.


✅ Final Thoughts

A “Domain Not Found” or DNS error is usually caused by misconfigured records, expired domains, or propagation delays. By systematically checking each possible cause, you can usually restore your website in minutes or hours.

If you’re a Sternhost customer, our support team can help you diagnose and fix DNS issues quickly, ensuring your website stays online and accessible.

How to Check Hosting Server Status

If your website is down or loading slowly, one of the first things you should do is check the status of your hosting server. Your server’s status determines whether the problem lies with your hosting provider, your website, or local factors like internet connectivity.

With Sternhost, checking your server status is simple and reliable. In this guide, we’ll explain how to verify server uptime, detect downtime, and get back online quickly.


Why Check Hosting Server Status?

Monitoring your server status helps you:

  • Identify downtime quickly and reduce website disruptions.
  • Pinpoint issues (server-related vs. website-specific problems).
  • Ensure uptime compliance with your hosting plan.
  • Improve performance by detecting server overload or maintenance events.


Ways to Check Hosting Server Status

✅ 1. Use Sternhost’s Server Status Page

Sternhost provides a dedicated Server Status page where you can:

  • View live updates on server uptime.
  • Check scheduled maintenance notifications.
  • Confirm if there are any global or regional outages.

📌 Visit: Sternhost Server Status


✅ 2. Log in to cPanel

Your cPanel account offers built-in metrics to check:

  • Server load (CPU and memory usage).
  • Resource usage history.
  • Processes running on the server.

Steps:

1. Log in to Sternhost cPanel.
2. Go to “Metrics” → “Resource Usage”.
3. Check if the server has hit its limits or experienced slowdowns.


✅ 3. Use Third-Party Tools

For additional monitoring:

These tools allow you to monitor your server’s uptime and performance from multiple locations.


✅ 4. Check via Command Line (Advanced Users)

If you have SSH access:

“`bash
ping yourdomain.com
“`

or

“`bash
tracert yourdomain.com
“`

This checks your server response time and network path.


✅ 5. Contact Sternhost Support

If you’re unsure whether it’s a server issue, reach out to our 24/7 Support Team. We can confirm if there’s downtime and help troubleshoot.

📩 Contact Sternhost Support


What to Do If Your Server Is Down

If the server status indicates downtime:

1. Wait for Maintenance – If there’s scheduled maintenance, service will be restored shortly.
2. Clear Your Cache – Sometimes, cached DNS or browser data can cause errors.
3. Restart Your Router – Rule out local connection issues.
4. Contact Support – If downtime persists, our team will investigate and resolve it.


Best Practices for Server Monitoring

  • Set up uptime alerts with tools like UptimeRobot.
  • Regularly check the Sternhost Server Status Page.
  • Optimize your website to reduce server strain.
  • Upgrade hosting if you’re frequently hitting resource limits.

📌 View Sternhost Hosting Plans


Final Thoughts

Checking your hosting server status is the first step to diagnosing downtime and ensuring your website remains available. With Sternhost, you have multiple tools and support options to keep your website online 24/7.

Need instant help with server status?
📨 Contact Sternhost Support