One of the most common reasons emails land in the Spam folder—or get rejected entirely—is a lack of proper authentication. If you are running a business email, you must prove to the recipient's server (like Gmail, Outlook, or Yahoo) that you are authorized to send emails from your domain.
This guide explains how to set up SPF, DKIM, and DMARC to secure your domain against spoofing and ensure your emails reach the inbox.
What Are These Protocols?
Before configuring them, it helps to understand what they do:
-
SPF (Sender Policy Framework): A DNS record that lists the IP addresses authorized to send email on behalf of your domain.
-
DKIM (DomainKeys Identified Mail): Adds a digital signature to your emails, allowing the receiver to verify that the message hasn't been altered in transit.
-
DMARC (Domain-based Message Authentication, Reporting, and Conformance): A policy that tells the receiving server what to do if an email fails SPF or DKIM checks (e.g., Reject it, Quarantine it, or Do nothing).
Step 1: Enable SPF and DKIM in cPanel
If you are using cPanel at Sternhost, setting up SPF and DKIM is automated.
-
Log in to your cPanel account.
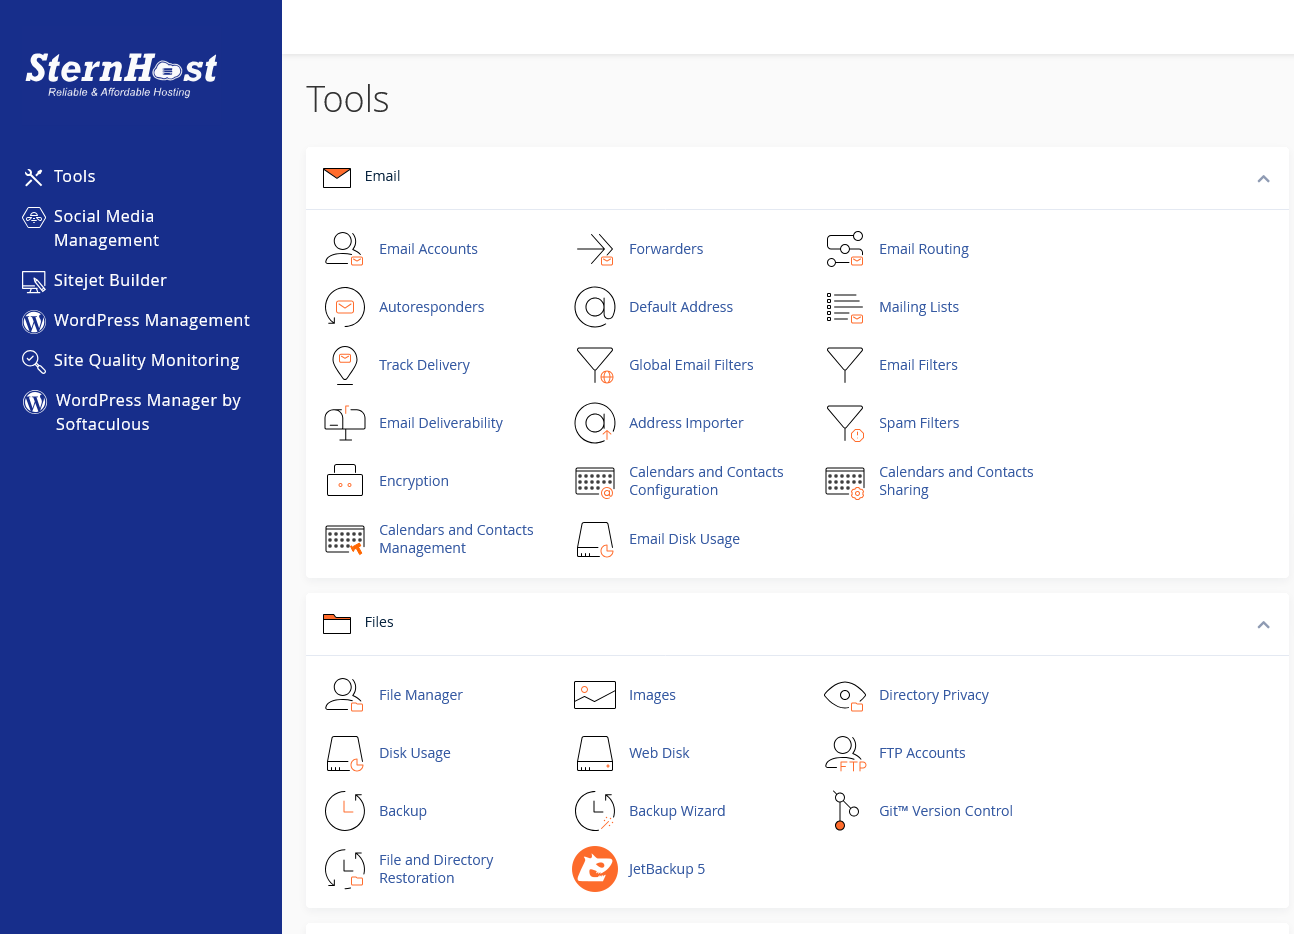
-
Navigate to the Email section and click on Email Deliverability.

-
Locate the domain you wish to manage and click the Manage button.
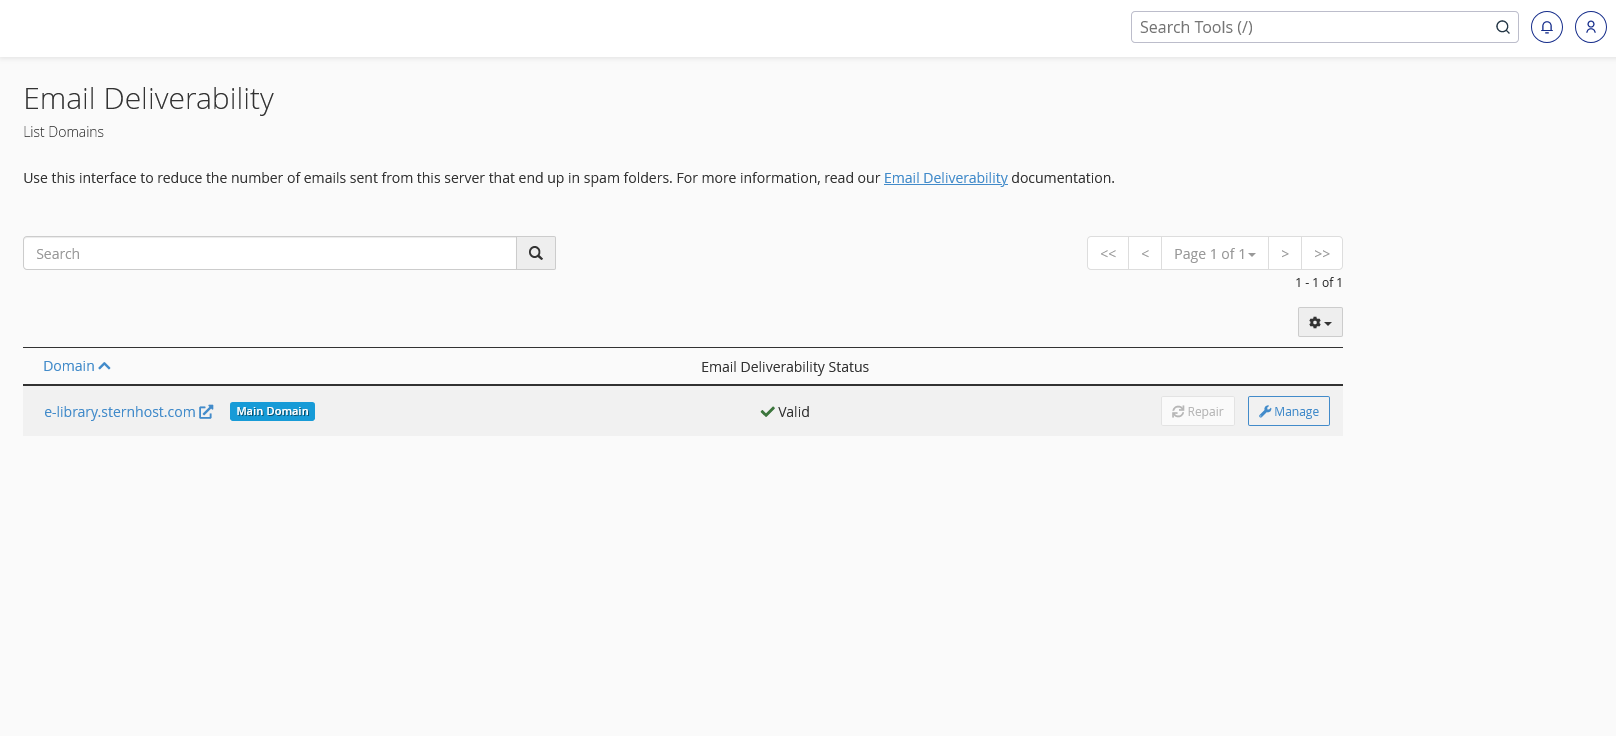
-
DKIM: If it is not already enabled, click Install or Enable.
-
SPF: Ensure the system recommends a "Valid" SPF record. If you send emails via third-party tools (like MailChimp or Salesforce), you must add their include statements here (e.g.,
include:servers.mcsv.net) to prevent those emails from bouncing.
Step 2: Configure DMARC
Once SPF and DKIM are active, you should set up a DMARC record to protect your brand reputation.
-
In the same Email Deliverability interface in cPanel, look for the DMARC section.
-
If no record exists, you will see a suggested record.
-
For a standard setup, you can use the following raw DNS TXT record:
Plaintextv=DMARC1; p=none; sp=none; raf=afrf; pct=100;-
p=none: This is "Monitoring Mode." It doesn't block emails yet but allows you to receive reports to see who is sending mail as you.
-
p=quarantine: Sends failing emails to Spam.
-
p=reject: Blocks failing emails completely (Recommended only after you have verified your traffic).
-
Step 3: Verify Your Configuration
After updating your settings, DNS propagation may take a few hours. To verify everything is working:
-
Use a tool like MXToolbox or IntoDNS.
-
Send a test email to a Gmail account.
-
Open the email in Gmail, click the three dots (top right of the email), and select "Show Original."
-
Look for "PASS" next to SPF, DKIM, and DMARC.
Why This Matters
Without these three protocols, your domain is vulnerable to "Spoofing" (hackers sending fake emails looking like they came from you). Furthermore, major providers like Google and Yahoo now require these authentications for bulk senders. Implementing them is no longer optional—it is a requirement for reliable communication.


