Whether you are going on vacation, taking the weekend off, or simply want to acknowledge every customer inquiry instantly, an Autoresponder is the perfect tool.
It allows your server to automatically reply to any incoming email with a pre-written message, letting senders know when they can expect a response.
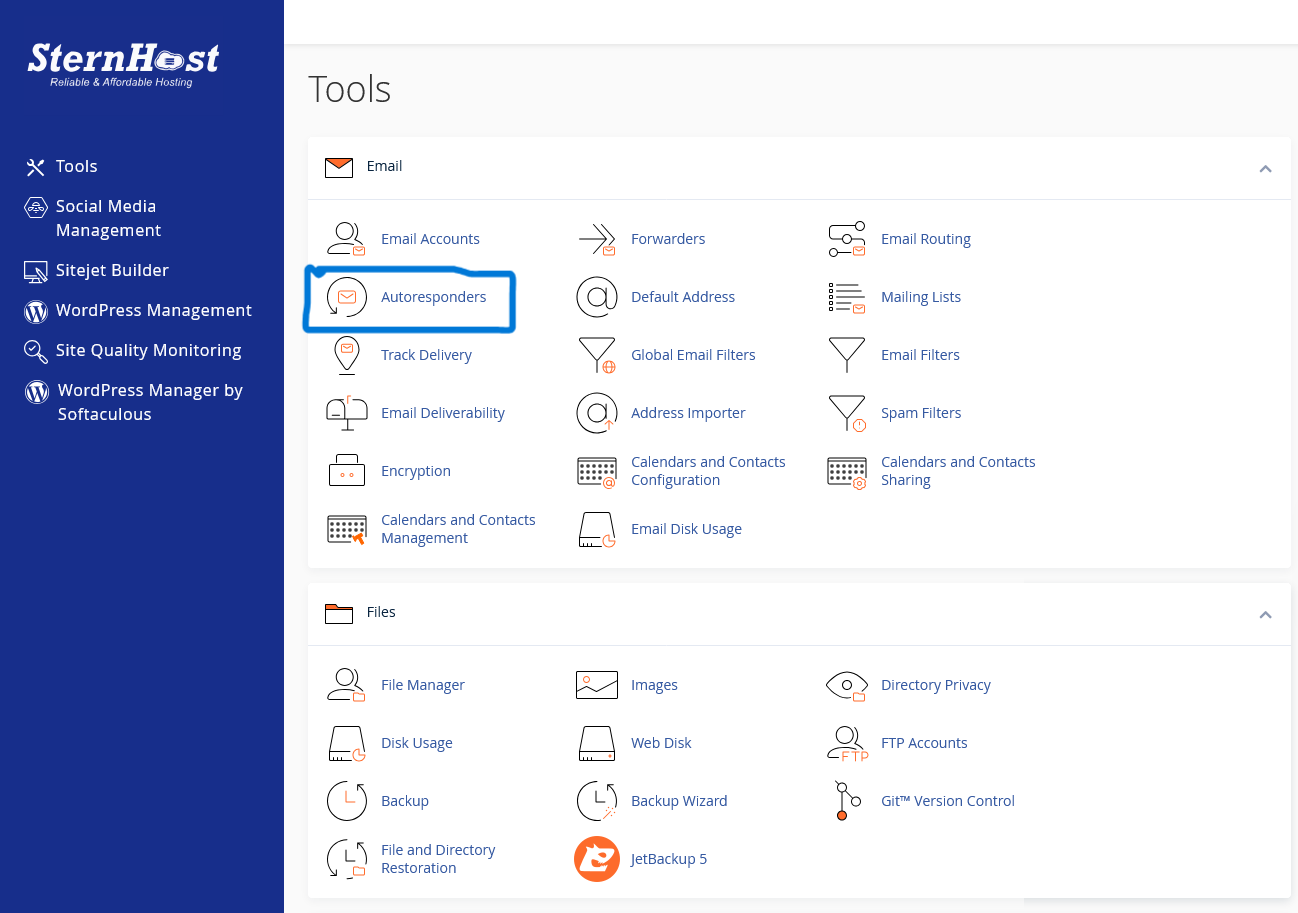
Step 1: Access the Autoresponder Menu
-
Log in to your cPanel account.
-
Scroll down to the Email section.
-
Click on the Autoresponders icon.
Step 2: Configure Your Message
Click the Add Autoresponder button and fill in the following details: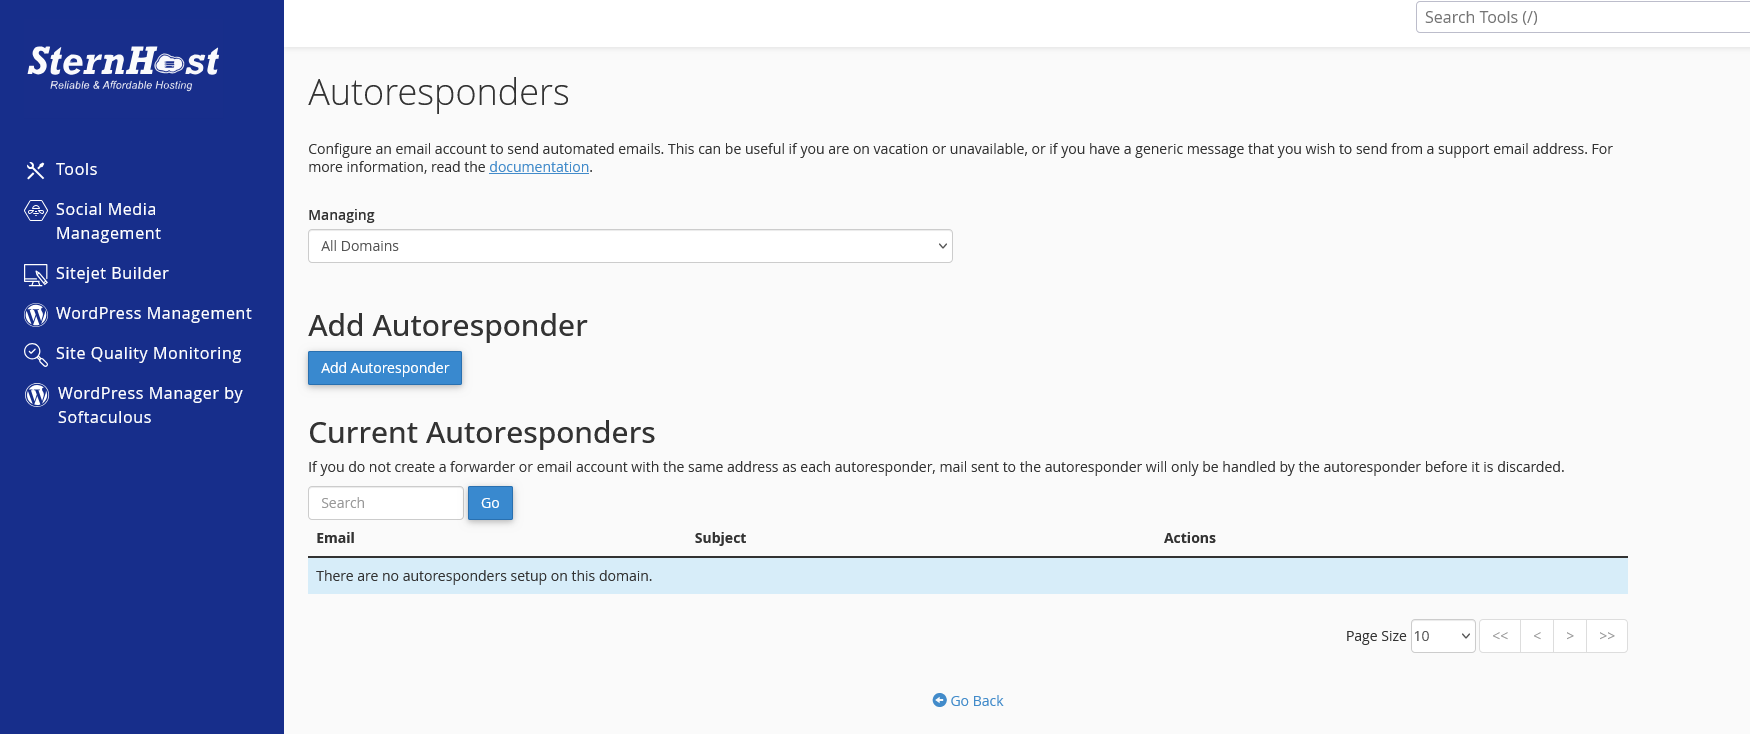
-
Character Set: Leave this as
utf-8(default). -
Interval: This is the most important setting. Enter 1 or 8.
-
Why? This is the number of hours the server waits before sending the same person another auto-reply. If you set it to
0, and a client emails you 5 times in 10 minutes, they will receive 5 auto-replies (which looks like spam). Setting it to8ensures they only get one notification per day.
-
-
Email: Enter the email address you want to set the reply for (e.g.,
supportorinfo). -
From: Enter your name or company name (e.g., "Sternhost Support").
-
Subject: Choose a clear subject line, such as "Message Received - We will get back to you shortly" or "Out of Office: [Your Name]".
-
Body: Type your message.
-
Example: "Thank you for contacting us. We have received your email and will respond within 24 hours. If this is an emergency, please call [Number]."
-
Step 3: Start and Stop Times (Optional)
If you are setting this up for a specific vacation period:
-
Select "Custom" under Start and Stop.
-
Choose the exact dates you want the autoresponder to be active.
-
If you leave it on "Immediately" and "Never," the autoresponder will run forever until you manually delete it.
Step 4: Finish
Click Create/Modify. Your auto-reply is now live!


