Step 1: Access Your Identity Settings
-
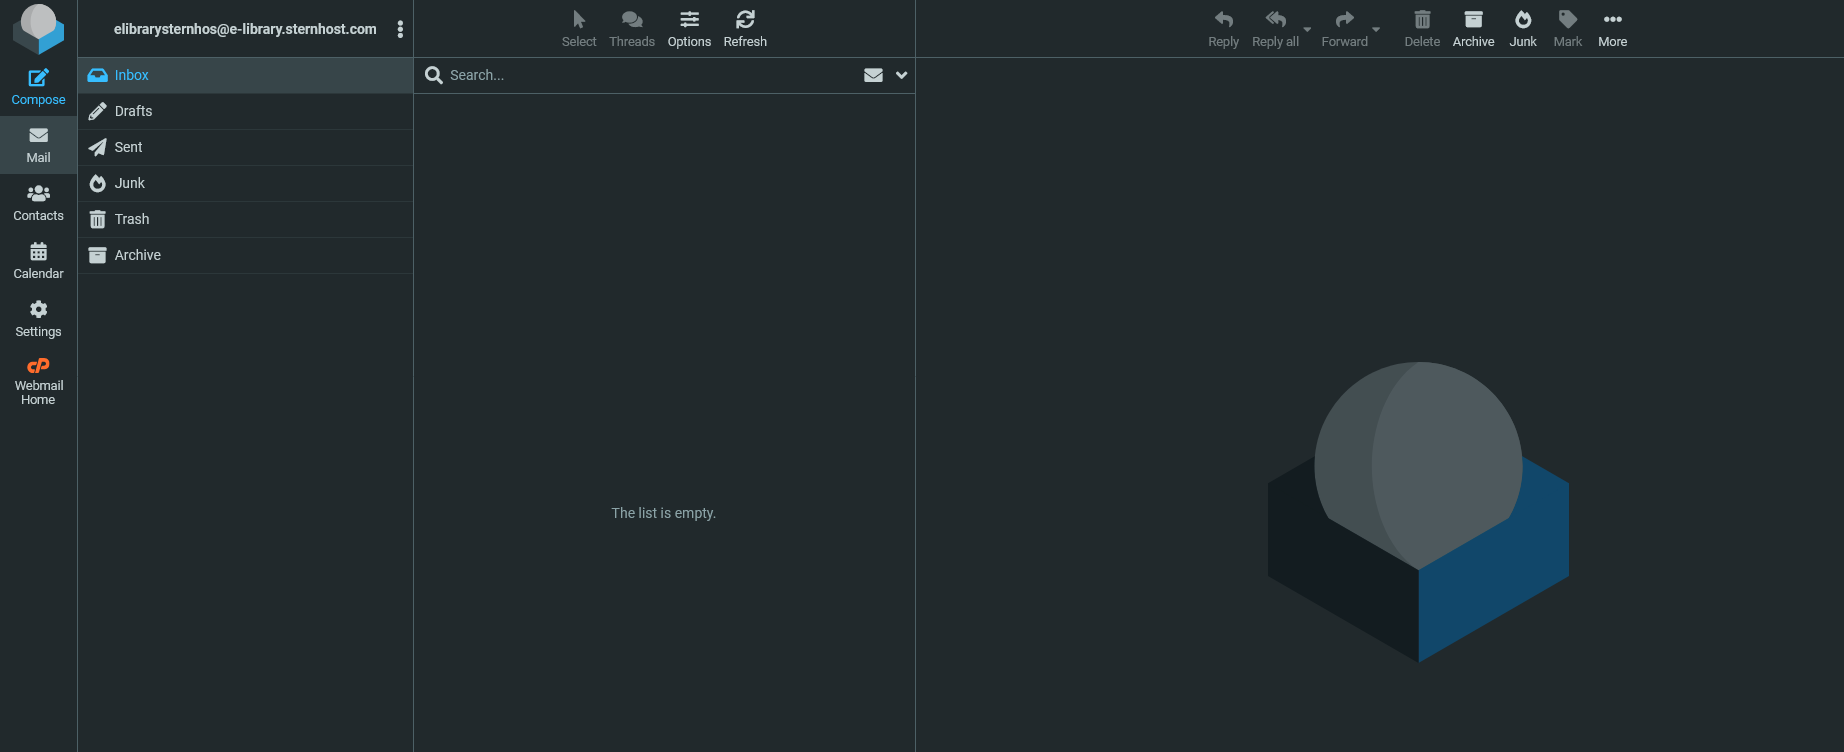
Log in to your Webmail account.
-
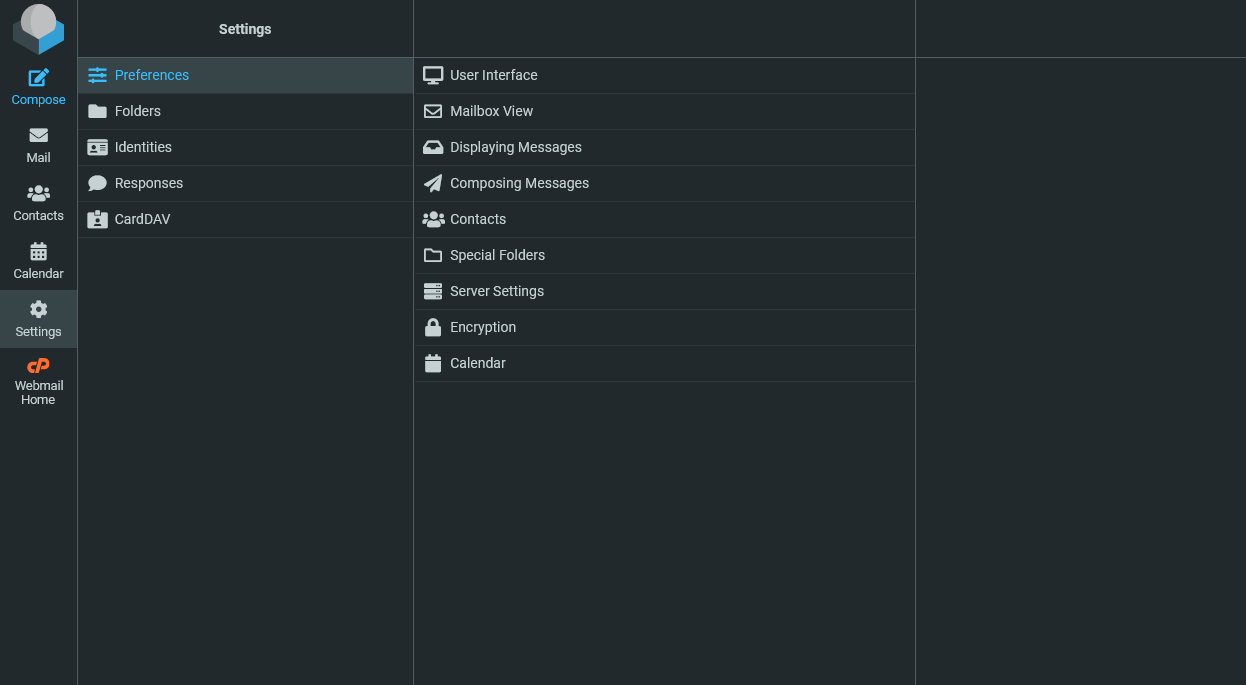
Click the Settings button in the left-hand menu (it looks like a gear icon).
-
In the "Settings" column, click on Identities.
-
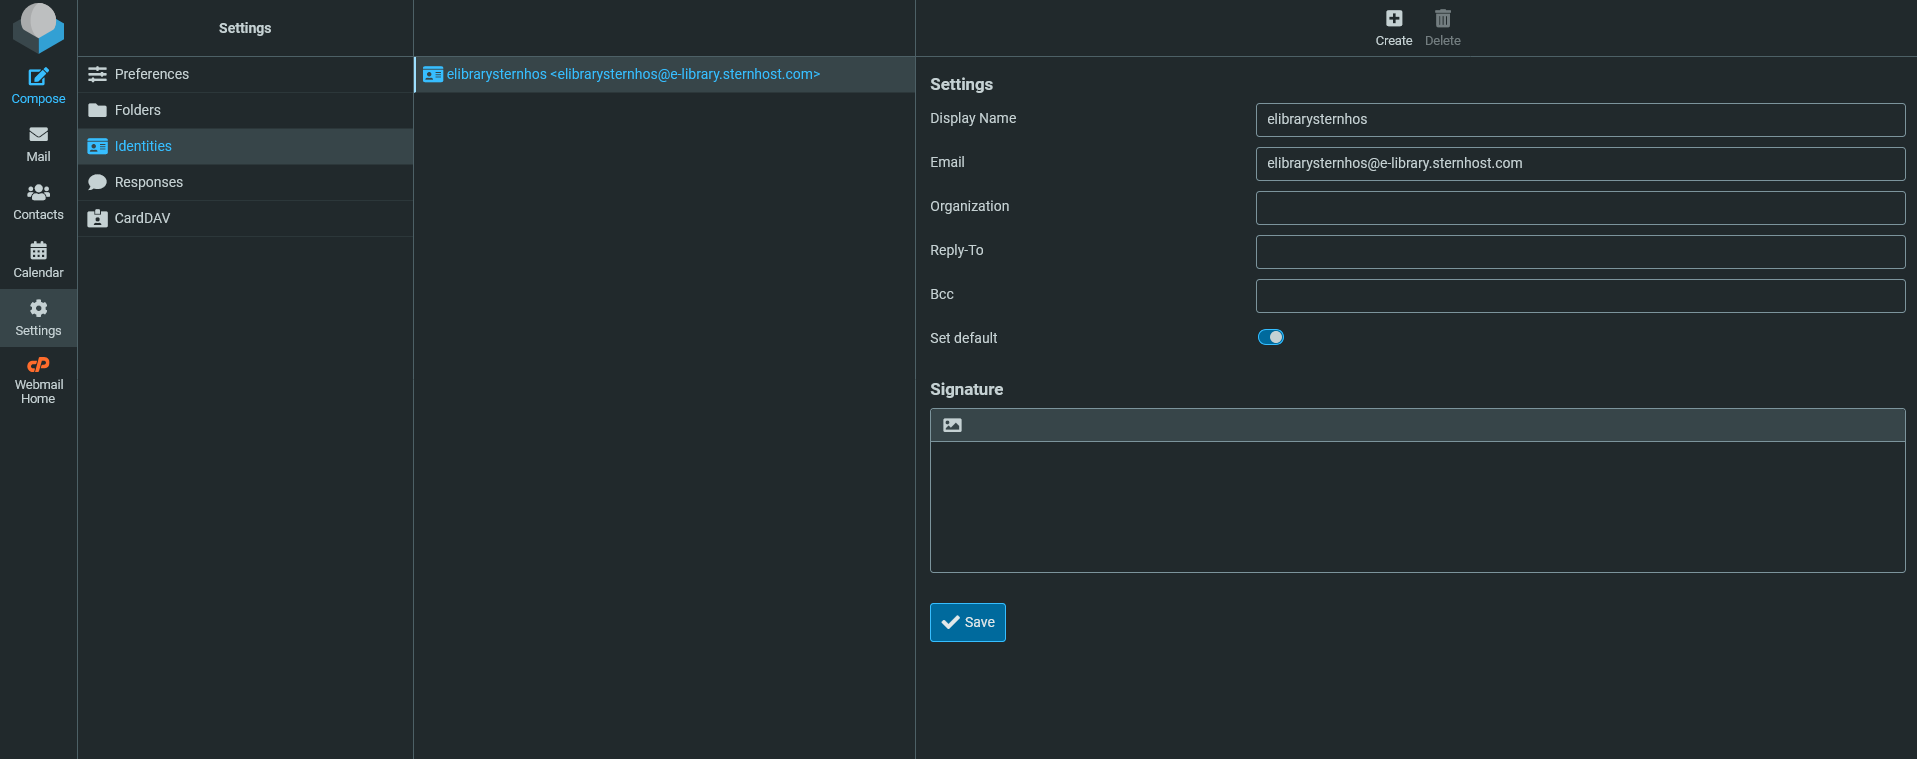
Select your email address from the list on the right.
Step 2: Design Your Signature
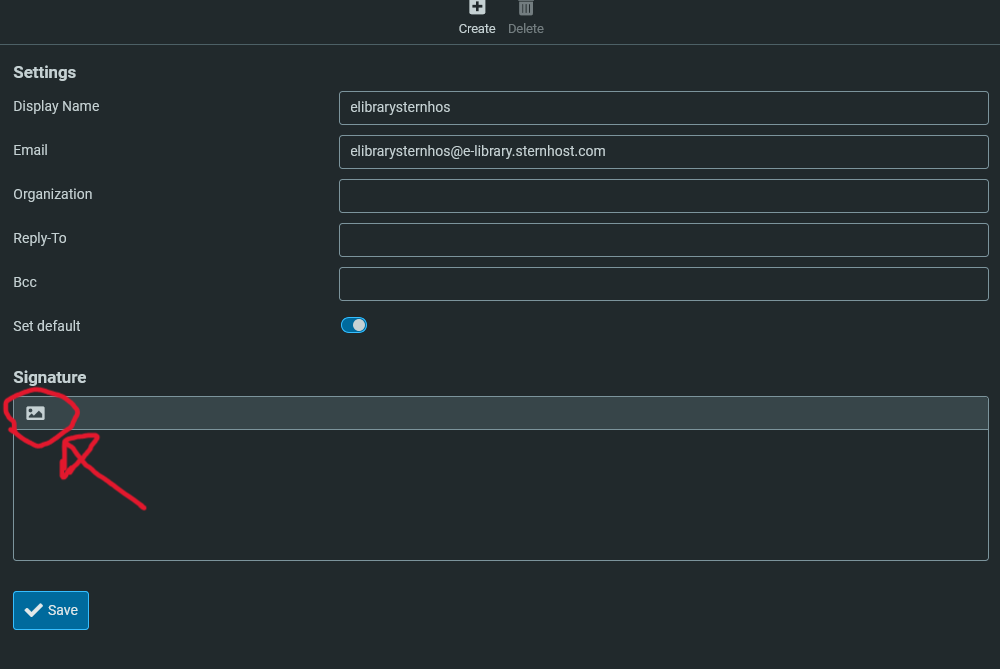
Once you click your email address, you will see a Signature box.
-
For a Simple Text Signature: Just type your details directly into the box.
-
For a Fancy Signature (Images/Logos):
-
Look for an image icon (usually at the top left of the signature box) and click on it.
-
A toolbar will appear (similar to Microsoft Word).
-
You can now bold text, add links to your website, and even insert your company logo using the "Insert Image" icon.
-
Step 3: Save and Test
-
Click the Save button at the bottom of the form.
-
To test it, go back to your Mail tab and click Compose.
-
You should now see your new signature automatically appear at the bottom of the email body.
Pro Tip: What to Include?
To keep your signature professional and clean, we recommend following this standard format:
John Doe Sales Manager | Sternhost ???? +123-456-7890 ???? www.yourbusiness.com


