Archive

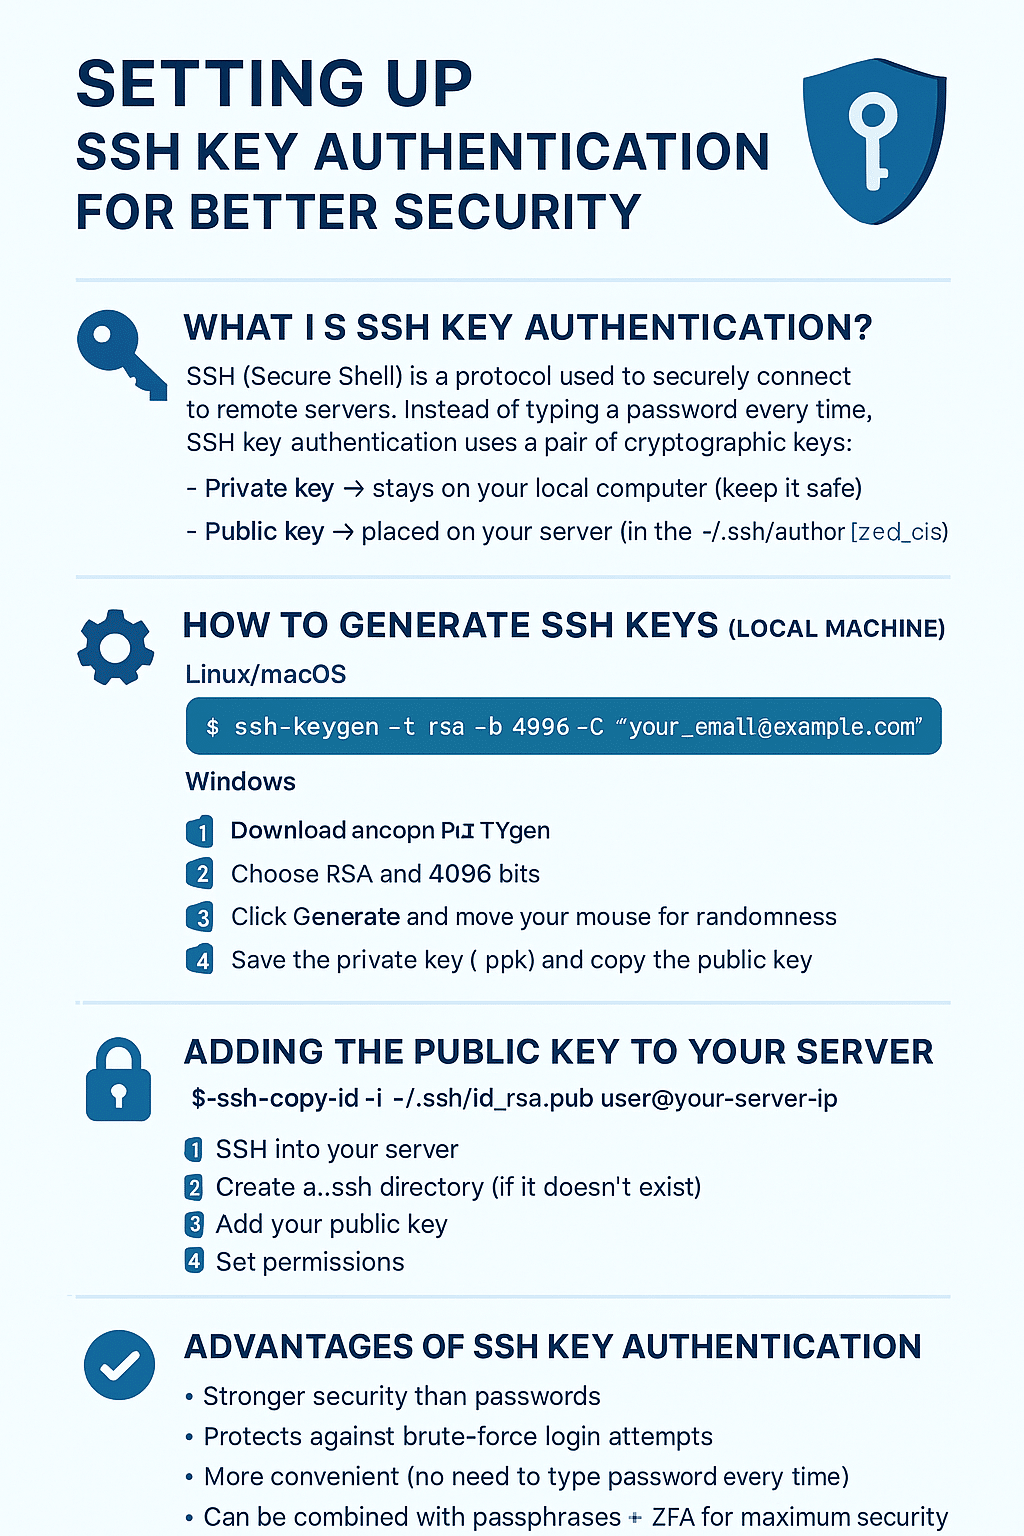
Setting Up SSH Key Authentication for Better Security

When managing your server, security is paramount. One of the most effective ways to secure your Linux VPS or dedicated server is by replacing traditional password logins with SSH key authentication. Unlike passwords that can be brute-forced or stolen, SSH keys offer a more secure and convenient way to authenticate.

In this guide, we’ll walk you through what SSH keys are, how they work, and how to set them up on your server.

🔑 What is SSH Key Authentication?

SSH (Secure Shell) is a protocol used to securely connect to remote servers. Instead of typing a password every time, SSH key authentication uses a pair of cryptographic keys:

  • Private key → stays on your local computer (keep it safe).

  • Public key → placed on your server (in the ~/.ssh/authorized_keys file).

When you connect, the server verifies that the private key matches the stored public key. If it does, access is granted—no password needed.

Benefit: This makes your server far less vulnerable to brute-force attacks.

⚙️ How to Generate SSH Keys (Local Machine)

First, generate your SSH key pair on your local machine.

On Linux/macOS:

ssh-keygen -t rsa -b 4096 -C "your_email@example.com"

This will:

  • Create a 4096-bit RSA key pair.

  • Save it to ~/.ssh/id_rsa (by default).

  • Prompt you to set a passphrase for extra protection.

On Windows:

If you’re using PuTTYgen:

  1. Download and open PuTTYgen.

  2. Choose RSA and 4096 bits.

  3. Click Generate and move your mouse for randomness.

  4. Save the private key (.ppk) and copy the public key.


📥 Adding the Public Key to Your Server

Now, copy your public key to the server.

Using ssh-copy-id (Linux/macOS):

ssh-copy-id -i ~/.ssh/id_rsa.pub user@your-server-ip

Manually:

  1. SSH into your server:

    ssh user@your-server-ip
  2. Create a .ssh directory (if it doesn’t exist):

    mkdir -p ~/.ssh
    chmod 700 ~/.ssh
  3. Add your public key:

    nano ~/.ssh/authorized_keys

    Paste your public key inside.

  4. Set permissions:

    chmod 600 ~/.ssh/authorized_keys

🔒 Disabling Password Authentication

Once SSH key login works, disable password-based login for extra protection.

  1. Open SSH config file:

    sudo nano /etc/ssh/sshd_config
  2. Find and change:

    PasswordAuthentication no
  3. Restart SSH:

    sudo systemctl restart ssh

Now, only SSH keys can be used to log in.

Advantages of SSH Key Authentication

  • Stronger security than passwords.

  • Protects against brute-force login attempts.

  • More convenient (no need to type password every time).

  • Can be combined with passphrases + 2FA for maximum security.


🌍 Related Resources


📌 Conclusion

SSH key authentication is one of the simplest yet most powerful security measures you can take for your server. By setting it up, you significantly reduce the risk of unauthorized access and make managing your VPS more convenient.

If you’re running your server with Sternhost VPS Hosting, you already have the tools needed to implement SSH key authentication in minutes. Secure your server today—because safety should never be optional.

Configuring UFW Firewall on Ubuntu VPS: A Step-by-Step Guide

When running a VPS (Virtual Private Server), security should always be your top priority. One of the easiest and most effective ways to secure your server is by configuring a firewall. Ubuntu comes with UFW (Uncomplicated Firewall), a user-friendly tool for managing firewall rules without the complexity of iptables.

In this guide, we’ll walk you through the process of configuring UFW firewall on Ubuntu VPS. Whether you are hosting a website, running applications, or managing sensitive data, this setup will help keep your server safe.

👉 At Sternhost VPS Hosting, all our VPS servers support UFW, making it easy for you to secure your hosting environment.

Step 1: Update Your System

Before making any changes, ensure your Ubuntu server is up-to-date:

sudo apt update && sudo apt upgrade -y

Step 2: Check if UFW is Installed

Most Ubuntu distributions come with UFW pre-installed. Check its status with:

sudo ufw status

If it’s not installed, run:

sudo apt install ufw -y

Step 3: Allow SSH Connections

Since you’ll be managing your VPS remotely, you must allow SSH before enabling UFW. Otherwise, you risk locking yourself out.

sudo ufw allow ssh

For custom SSH ports (e.g., 2222):

sudo ufw allow 2222/tcp

Step 4: Enable Common Services

Allow other necessary services depending on your VPS usage:

  • For HTTP (websites):

    sudo ufw allow http
  • For HTTPS (secure websites):

    sudo ufw allow https
  • For DNS (if running a DNS server):

    sudo ufw allow 53

Step 5: Enable UFW

Now, enable UFW with:

sudo ufw enable

Check the status:

sudo ufw status verbose

Step 6: Deny Unwanted Traffic

By default, UFW blocks all incoming connections except the ones you explicitly allow. You can also deny specific ports:

sudo ufw deny 23 # Blocks Telnet (insecure protocol)

Step 7: Advanced Rules (Optional)

For added security, you can allow connections only from specific IPs. For example, to allow SSH only from your office IP:

sudo ufw allow from 192.168.1.100 to any port 22

Conclusion

By following these steps, you have successfully configured the UFW firewall on your Ubuntu VPS. This ensures that only essential services are accessible, reducing the risk of cyber-attacks and unauthorized access.

At Sternhost, our VPS hosting plans are optimized for performance and security, giving you a reliable environment to run your projects with peace of mind.

For more security tips, check out Ubuntu’s UFW Documentation.

✅ With UFW configured, your Ubuntu VPS is now significantly more secure.

Viewing Visitor Stats via cPanel Metrics

Running a website is more than just publishing content—it’s also about understanding who visits your site, how they find you, and what they do when they get there. If you’re using cPanel hosting, one of the most valuable tools at your disposal is cPanel Metrics, which helps you monitor visitor stats and optimize your website’s performance.

In this guide, we’ll walk you through how to view your visitor stats in cPanel, why they’re important, and how to use the data to grow your online presence.

Why Visitor Stats Matter

Knowing how many people visit your site and what they do is crucial for:

  • Improving content strategy – Identify which pages get the most traffic.

  • Enhancing SEO performance – Track the impact of your optimization.

  • Monitoring server resources – Spot unusual spikes in traffic.

  • Business growth – Understand customer behavior to refine your services.

If you’re a small business owner or blogger, analyzing visitor stats can help you stay competitive and improve conversions.

Accessing Visitor Stats in cPanel

Here’s a step-by-step process:

  1. Login to cPanel – Head over to your hosting account (if you’re using SternHost, login here).

  2. Locate the Metrics Section – Scroll to the “Metrics” section in your cPanel dashboard.

  3. Choose a Tool – cPanel offers multiple tools for tracking:

    • Awstats – Detailed reports on visitors, browsers, and traffic.

    • Analog Stats – Simple overview of traffic activity.

    • Webalizer – Visual graphs of usage statistics.

    • Visitors – View IPs of the last 1,000 visitors.

    • Errors – Track broken links and server errors.

  4. Analyze the Reports – Look at data like:

    • Unique visitors vs returning visitors

    • Top pages and referrers

    • Geographical locations

    • Search engine traffic


Best Practices for Using Visitor Stats

  • Identify top-performing pages and create similar content.

  • Fix broken links spotted in the error logs.

  • Improve slow-loading pages to reduce bounce rates.

  • Compare data monthly to track growth.


SternHost and Website Growth

If you’re using SternHost’s reliable cPanel hosting, you already have access to these tools to monitor and grow your website traffic. With affordable hosting plans, strong uptime, and a user-friendly client portal, SternHost makes managing websites stress-free.

Explore SternHost’s web hosting plans and start growing your website with ease.

✅ With cPanel Metrics, you don’t need third-party software to get started. Whether you’re running a business site or a blog, your hosting dashboard already has the insights you need.

Domain Auto-Renewal: How to Avoid Losing Your Domain

Imagine waking up one morning and realizing your website is no longer accessible because your domain name expired. Scary, right? Unfortunately, this happens to many website owners who forget to renew their domains on time. Losing a domain can mean losing website traffic, search engine rankings, and even your brand identity.

That’s where domain auto-renewal comes in. By enabling this feature, you can ensure your domain name stays active without having to manually track renewal dates.

What is Domain Auto-Renewal?

Domain auto-renewal is a feature that automatically renews your domain name before it expires. Instead of receiving multiple reminders and risking a missed payment, your registrar will charge the payment method linked to your account and keep your domain secure.

It’s like setting your bills to autopay — convenient, secure, and stress-free.

Why is Auto-Renewal Important?

Here are some reasons you should always enable auto-renewal:

  1. Prevent Domain Loss – Once a domain expires, anyone can buy it. Losing your domain could damage your brand and cost you more to recover it.

  2. Avoid Website Downtime – Expired domains take your website offline, affecting traffic and customer trust.

  3. Protect Your Email Accounts – If your emails run on your domain, expiration can cause email disruption.

  4. Save Time – No more manually checking dates and invoices.

  5. Peace of Mind – Focus on your business without worrying about renewals.


How to Enable Domain Auto-Renewal

Enabling auto-renewal is simple:

  1. Login to Your Hosting Account – Go to your domain management dashboard.

  2. Select Your Domain – Find the domain you want to secure.

  3. Enable Auto-Renewal – Turn on the auto-renewal toggle or checkbox.

  4. Update Payment Method – Ensure your credit/debit card or PayPal account is up to date.

  5. Confirm – Once enabled, your domain will renew automatically each cycle.

💡 Tip: Always keep your billing details current to avoid failed renewal attempts.

Best Practices for Domain Management

  • Enable multi-year renewals if possible.

  • Use reminders in addition to auto-renewal for extra safety.

  • Consolidate your domains under one hosting provider to make management easier.

  • Choose a reliable registrar that offers flexible domain management tools.

Why Choose a Trusted Provider?

While many registrars offer auto-renewal, choosing a reliable hosting provider ensures your domain and hosting are secure in one place. For example, at Sternhost, customers enjoy simple domain management, secure billing, and peace of mind knowing their domains are safe.

By managing both your hosting and domains in one dashboard, you can reduce risks and focus on growing your online presence.

Conclusion

Losing a domain can be costly and stressful — but it’s 100% preventable. Enabling domain auto-renewal is the smartest way to ensure your website, email, and brand remain online without interruption.

Don’t wait until it’s too late — log into your account today, enable auto-renewal, and secure your domain’s future.

👉 Ready to manage your domain with ease? Visit Sternhost and enjoy simple, reliable domain management.

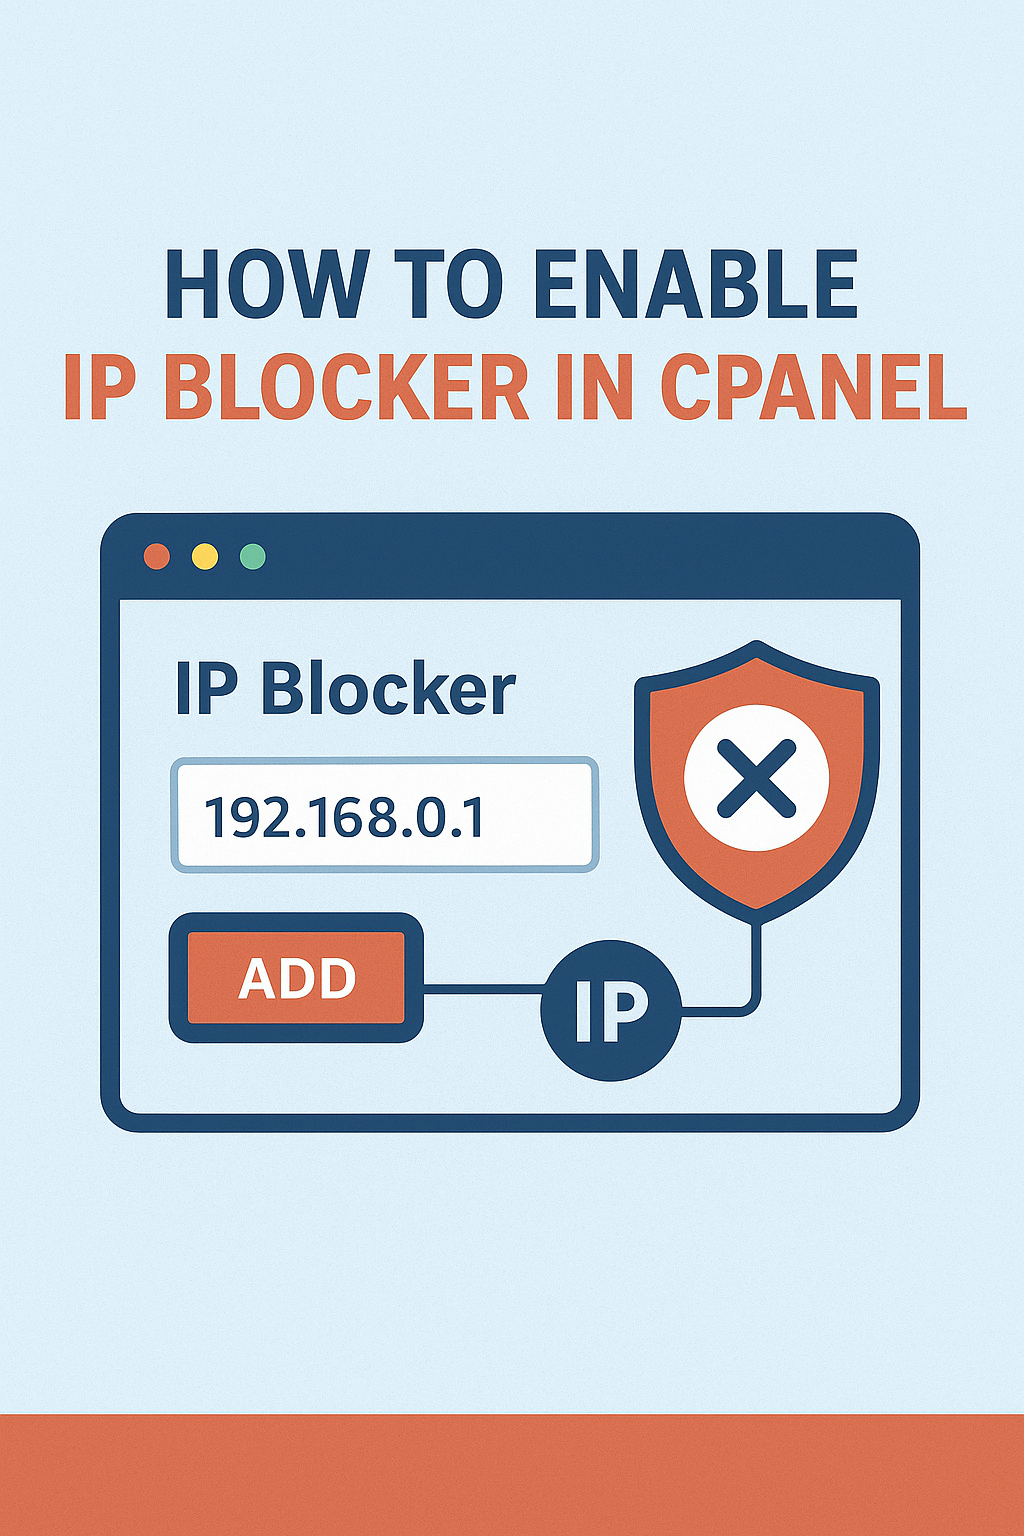
How to Enable IP Blocker in cPanel: Step-by-Step Guide

Website security is one of the most important responsibilities of every website owner. A common way to safeguard your site is by restricting access from suspicious or malicious IP addresses. Thankfully, cPanel makes this process simple through its IP Blocker tool.

In this guide, we’ll walk you through how to enable and use the IP Blocker in cPanel to protect your website effectively.

What is the IP Blocker Tool in cPanel?

The IP Blocker in cPanel allows you to deny access to your site from specific IP addresses or ranges. For example:

  • Blocking a suspicious IP that attempts multiple logins.

  • Preventing spam bots from accessing your pages.

  • Restricting certain regions from visiting your website.

This feature is essential for keeping your website secure and maintaining smooth performance.

Steps to Enable IP Blocker in cPanel

  1. Login to Your cPanel Account
    Use your hosting credentials to access the cPanel dashboard. If you are with a reliable provider like Sternhost, simply log in through your client portal.

  2. Locate the IP Blocker Tool
    Scroll down to the Security section and click on IP Blocker.

  3. Enter the IP Address to Block

    • You can input a single IP (e.g., 192.168.0.1).

    • A range of IPs (e.g., 192.168.0.1-192.168.0.40).

    • Or use CIDR format (e.g., 192.168.0.1/32).

  4. Click Add
    Once added, cPanel will immediately block that IP from accessing your website.

  5. Manage Blocked IPs

    • You can view all blocked IPs in the list.

    • Remove them anytime if you want to restore access.


Why Use IP Blocker for Security?

  • Prevent brute force login attempts.

  • Block scrapers and spammers.

  • Reduce server load caused by malicious traffic.

  • Ensure a safer browsing experience for legitimate visitors.

When paired with reliable hosting infrastructure—like the optimized servers at Sternhost—your website remains fast, secure, and always online.

Final Thoughts

Enabling the IP Blocker in cPanel is a simple yet powerful step toward improving your website security. Whether you’re stopping a single suspicious visitor or shielding your site from repeated attacks, this tool gives you control at your fingertips.

If you want hosting that comes with robust cPanel features and expert support, consider Sternhost for your website. Their hosting plans are designed to keep your website secure, fast, and reliable.

✅ With these steps, you can now protect your website from unwanted visitors using the cPanel IP Blocker tool.

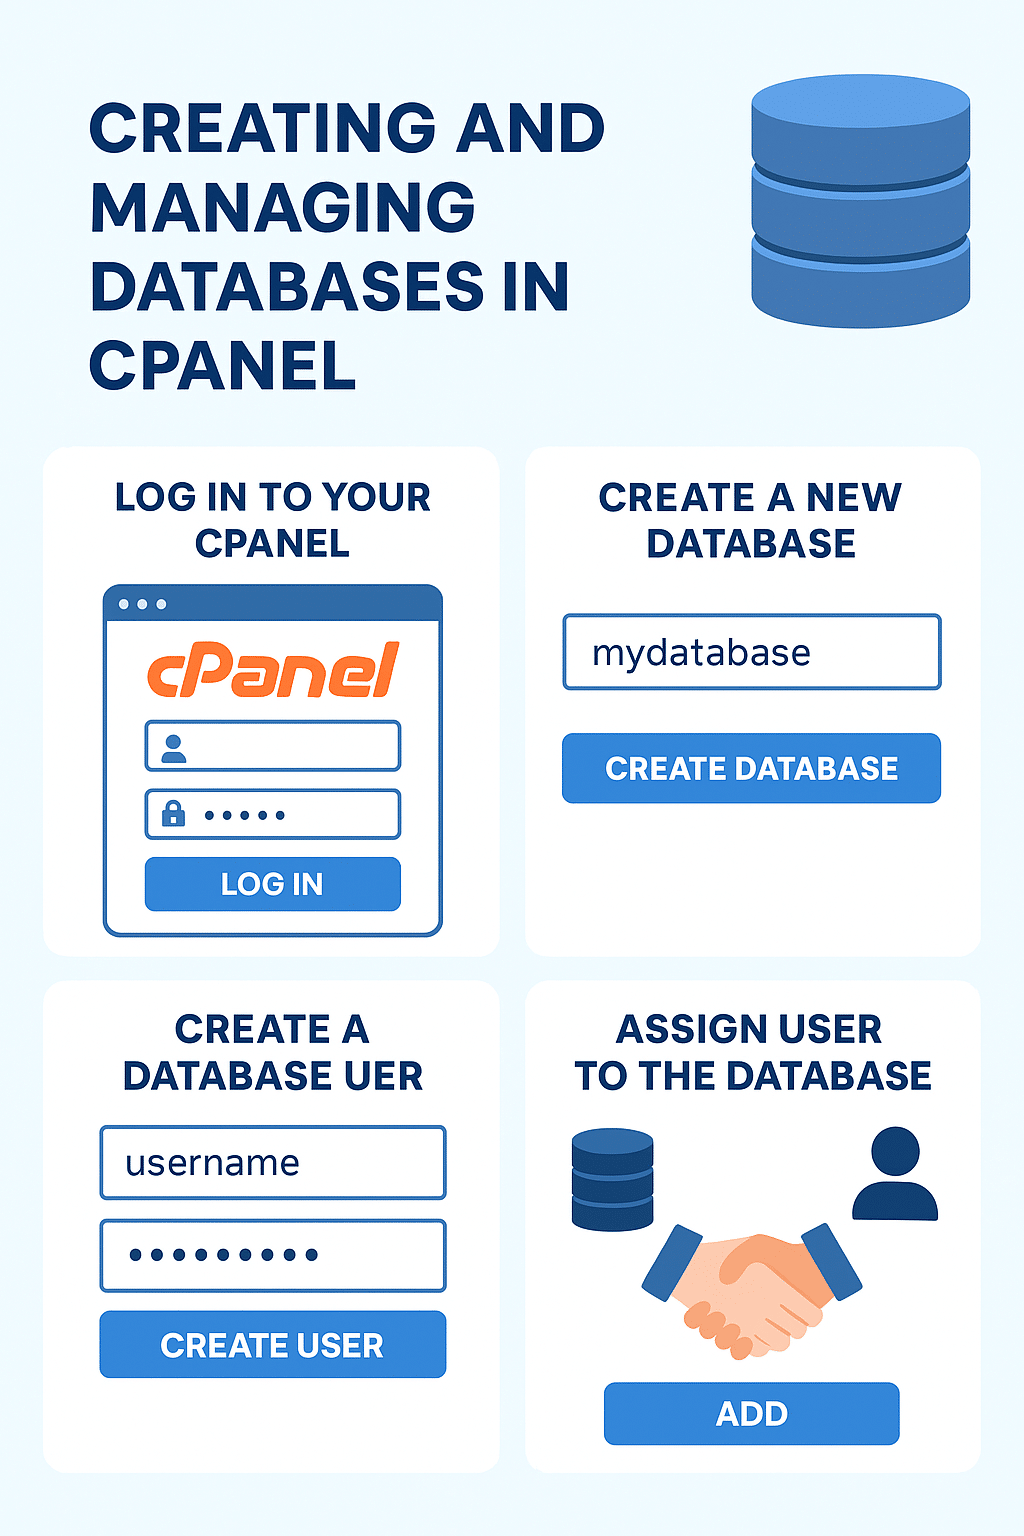
Creating and Managing Databases in cPanel: A Step-by-Step Guide

Every modern website relies on a database to store and organize information, whether it’s user accounts, blog posts, product listings, or even simple content. Managing databases may sound technical, but with cPanel, it’s straightforward.

In this guide, you’ll learn how to create and manage databases in cPanel, step by step. If you’re running your website with a reliable hosting provider like Sternhost, these steps will be smooth and hassle-free.

Step 1: Log in to Your cPanel

  • Access your cPanel dashboard using the login details from your hosting provider.

  • Look for the Databases section—this is where all your database tools are located.


Step 2: Create a New Database

  1. Under the Databases section, click MySQL® Databases.

  2. Enter a name for your database in the “Create Database” field.

  3. Click Create Database.

✅ Your new database is now set up!

Step 3: Create a Database User

  1. Scroll down to MySQL Users.

  2. Enter a username and password for your database user.

    • Use a strong password to secure your data.

  3. Click Create User.


Step 4: Assign User to the Database

  1. Under Add User to Database, select your new user and database.

  2. Click Add.

  3. Assign privileges (usually select All Privileges).

  4. Save changes.

🔐 Now your user has permission to access and manage the database.

Step 5: Managing Databases

Once created, you can manage your database in multiple ways:

  • phpMyAdmin: Found under cPanel’s Databases section, this tool lets you view, edit, and export/import database data.

  • Backup & Restore: Always back up your databases before making big changes.

  • Optimization: Use the “Repair” or “Optimize” options in phpMyAdmin to keep things running smoothly.


Why This Matters for Your Website

Proper database management ensures that your site runs smoothly, loads quickly, and avoids crashes. Whether you’re setting up WordPress, Joomla, or a custom site, database organization is essential.

That’s why choosing the right hosting provider matters. A service like Sternhost ensures you get a fast, secure, and user-friendly cPanel experience, making database management much easier.

👉 Looking for hosting that gives you both power and simplicity? Explore Sternhost’s hosting plans.

Final Thoughts

Creating and managing databases in cPanel isn’t as complex as it sounds. With the right steps, you can set up and maintain your site’s data like a pro.

By choosing a hosting provider that offers a robust cPanel system, you’ll not only save time but also enjoy peace of mind knowing your website is in good hands.

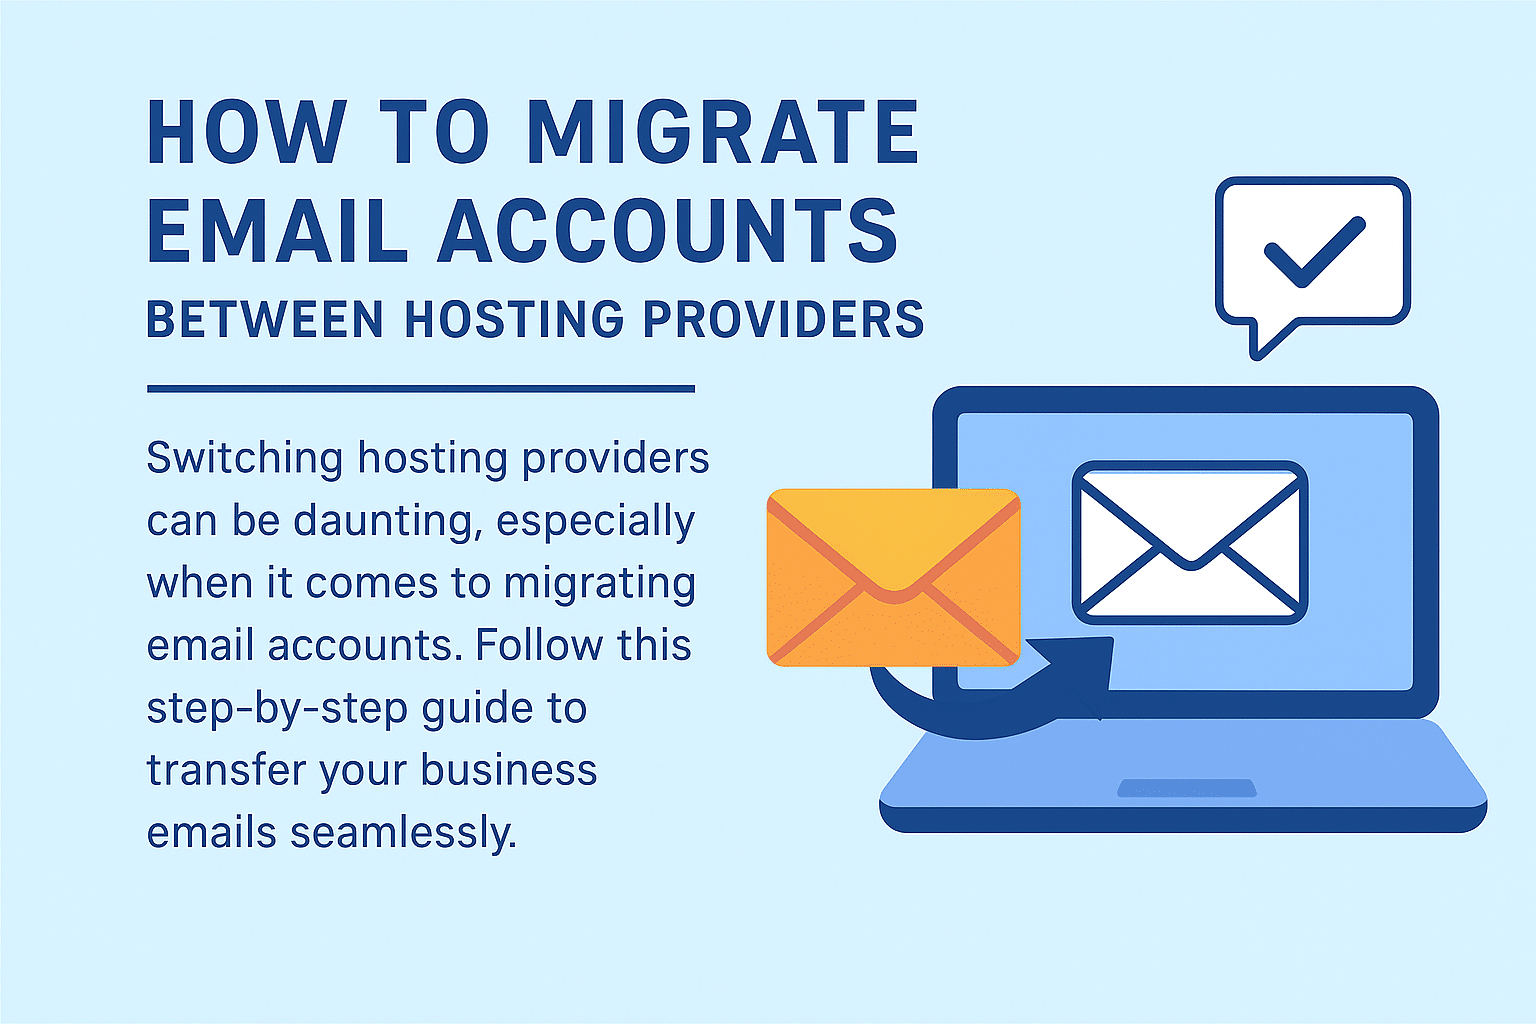
How to Migrate Email Accounts Between Hosting Providers

Switching hosting providers can be exciting, especially if you’re moving to a faster, more reliable service. But one of the biggest concerns for businesses and individuals alike is migrating email accounts without losing important data.

The good news? With the right steps, you can smoothly transfer your email accounts and keep your communication intact.

Why Email Migration Matters

Your email is the backbone of your business communication. Losing access—or worse, losing valuable emails—can disrupt workflow, customer service, and even reputation. That’s why migrating carefully is crucial when moving to a new hosting provider.

Step-by-Step Guide to Email Migration

1. Backup Existing Emails

Before initiating the migration, always create a backup.

  • If you’re using cPanel, you can download email data from the File Manager under the /mail/ directory.

  • If you’re using an email client (like Outlook, Thunderbird, or Apple Mail), export your mailbox to a .pst or .mbox file.

2. Create Email Accounts on the New Hosting Provider

Set up the same email addresses (e.g., info@yourdomain.com) on your new hosting account. Make sure the usernames and passwords match the old accounts to simplify migration.

3. Update DNS (MX Records)

Log in to your domain registrar and update your MX Records to point to your new hosting provider. This ensures incoming emails start arriving at the new server.
👉 DNS changes may take up to 24 hours to propagate.

4. Migrate Existing Emails

You have a few methods here:

  • IMAP Sync: Tools like imapsync can transfer emails between two servers.

  • Email Client Copying: Connect both old and new accounts in an email client, then drag and drop emails between folders.

  • cPanel Transfer: If both hosts use cPanel, you can copy over the /mail/ and /etc/ directories directly.

5. Test Your Accounts

Send and receive test emails to confirm everything is working. Don’t forget to check attachments, folders, and spam settings.

Pro Tips for a Smooth Email Migration

  • Perform the migration during off-peak hours to avoid disruption.

  • Keep your old hosting account active for at least 48 hours to catch any stray emails during DNS propagation.

  • Communicate with your team to ensure everyone updates their email client settings if needed.

Choosing a Host That Makes Migration Easy

Not all hosts make migration painless. Look for providers that offer:

  • Free migration assistance

  • cPanel/DirectAdmin support for easier transfers

  • 24/7 customer support for troubleshooting

👉 That’s why many businesses choose Sternhost—a hosting provider that not only gives you reliable web hosting but also assists with smooth email migrations so you never lose a message.

Conclusion

Migrating email accounts between hosting providers doesn’t have to be stressful. With proper backups, the right tools, and a reliable host that offers support, you can make the switch with confidence.

If you’re ready to upgrade your hosting experience while keeping your email communications intact, check out Sternhost today.

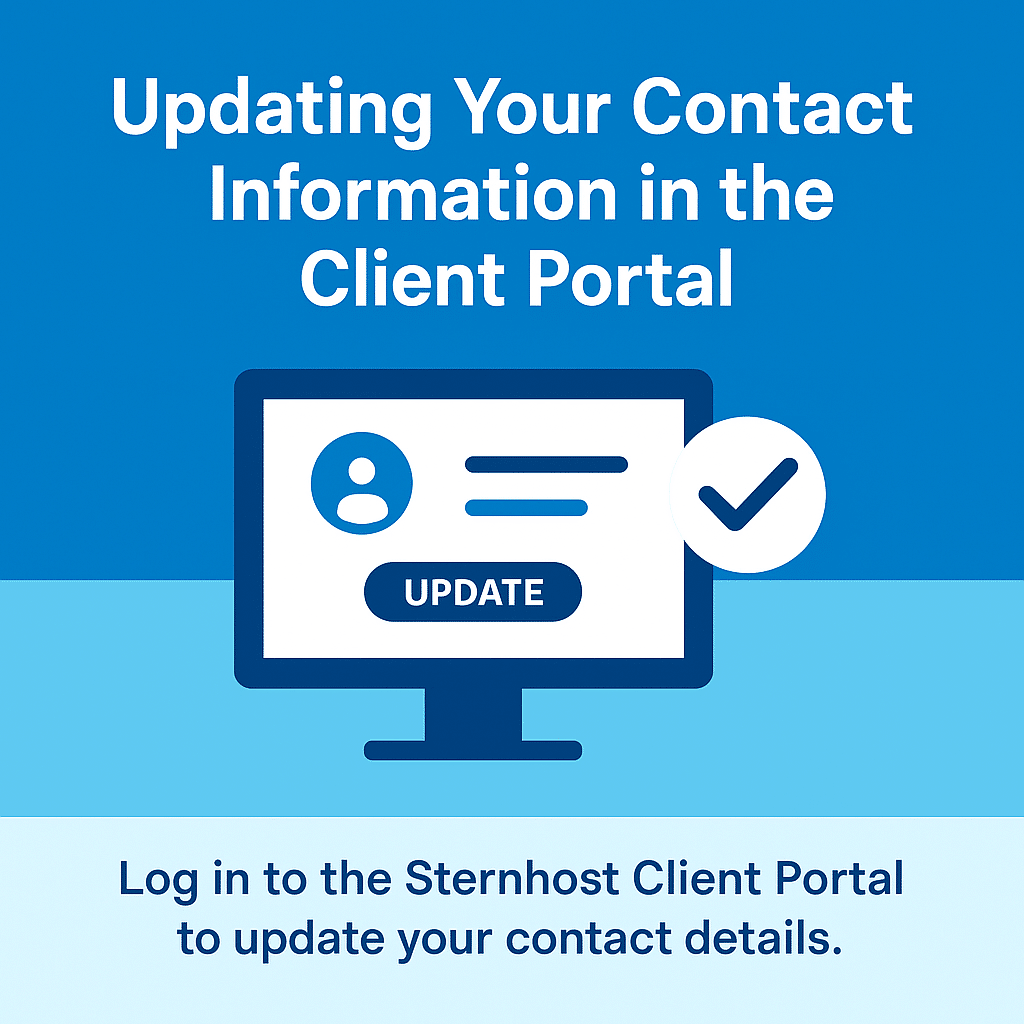
Updating Your Contact Information in the Client Portal

Keeping your contact information up to date is crucial to ensure that you receive important notifications, billing reminders, and service updates from your hosting provider. Outdated information can lead to missed alerts or disruptions in service. Fortunately, updating your details in the client portal is a quick and simple process.

Why It’s Important

  • Billing & Invoices – Ensure invoices and receipts are sent to the correct email.

  • Domain & Hosting Renewals – Avoid accidental expiration due to missed renewal notices.

  • Security Alerts – Receive notifications about logins, suspicious activities, or support replies.


How to Update Your Contact Information

Step 1: Log in to the Client Portal

  • Visit the login page of your hosting provider’s client portal.

  • Enter your email address and password to access your account.


Step 2: Navigate to Profile or Account Settings

  • Once logged in, locate the Account Settings or Profile section.

  • This is usually accessible from the top-right corner under your account name.


Step 3: Update Your Details

  • Edit fields such as:

    • Email Address

    • Phone Number

    • Billing Address

    • Emergency Contact (if available)

  • Double-check for typos to avoid issues with notifications.


Step 4: Save Changes

  • Click the Save or Update Information button.

  • Some portals may send a verification link to confirm your new email.


Step 5: Verify Information

  • Check your inbox or phone for any verification message.

  • Complete the verification process to finalize the update.

Best Practices for Sternhost Clients

✔️ Review your contact details every 3–6 months.
✔️ Always use a primary email address (avoid temporary or inactive ones).
✔️ Enable Two-Factor Authentication (2FA) in your Sternhost portal for maximum account protection.

Final Thoughts

At Sternhost, we make hosting simple and reliable. By keeping your contact information updated, you ensure uninterrupted access to your services and never miss an important update.

👉 Log in to your Sternhost Client Portal today and review your details.

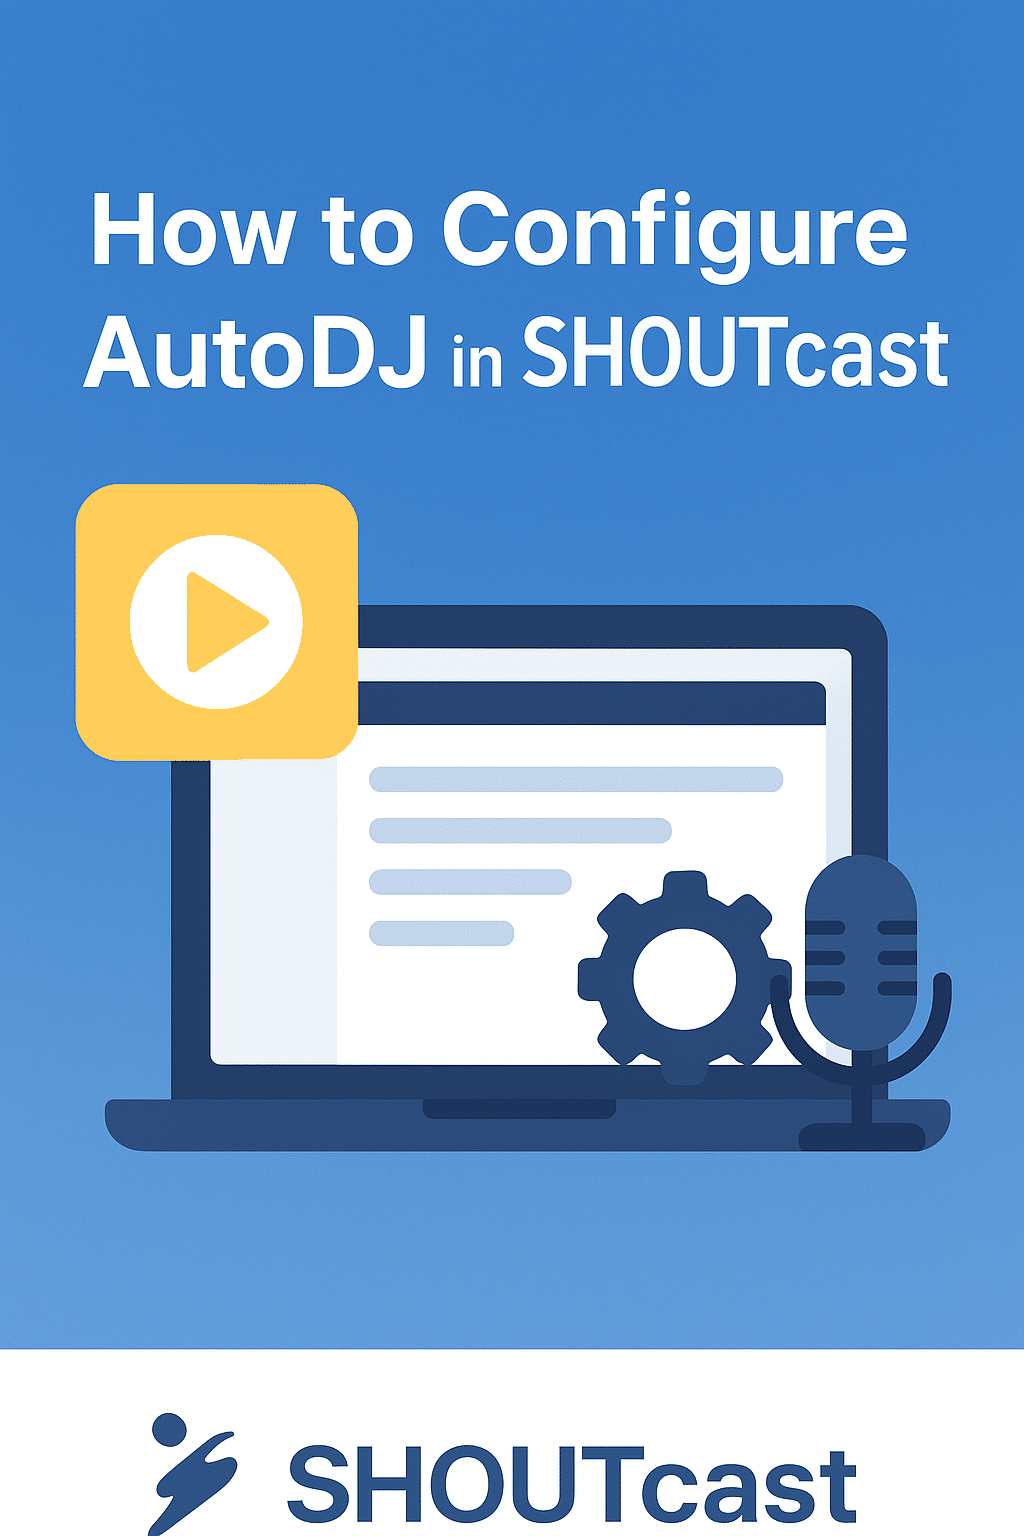
How to Configure AutoDJ in SHOUTcast

AutoDJ is one of SHOUTcast’s most useful features, allowing you to broadcast music or other pre-recorded content automatically without being connected to the server live all the time. This is perfect for keeping your station running 24/7 and ensuring your listeners always have something to enjoy.

In this guide, we’ll walk you through configuring AutoDJ in SHOUTcast, step-by-step.


Why Use AutoDJ?

  • 24/7 Broadcasting – Keep your station online even when you’re offline.
  • Bandwidth Saving – Your music streams directly from the server, not your PC.
  • Professional Presentation – No gaps or silence for your listeners.
  • Scheduling Flexibility – Preload playlists and let the system handle the rest.


Step 1: Log into Your SHOUTcast Control Panel

1. Go to your SHOUTcast hosting account’s control panel.
2. Enter your username and password.
3. Look for the AutoDJ Management section.

> Tip: If you’re with Sternhost, you can access SHOUTcast AutoDJ from your client area for quick setup.


Step 2: Enable AutoDJ

1. In the control panel, find the AutoDJ status.
2. Click Enable AutoDJ if it’s currently off.
3. Select your preferred bitrate and streaming format (MP3 or AAC+).


Step 3: Upload Your Music Files

1. Go to the Media Library or File Manager.
2. Upload MP3 files (make sure they are properly tagged with artist/title).
3. Keep your file names organized for easy playlist creation.


Step 4: Create Your Playlist

1. Navigate to Playlist Manager.
2. Create a new playlist and give it a name (e.g., “Main Rotation”).
3. Add your uploaded tracks to the playlist.
4. Set the playback order — Shuffle, Loop, or Sequential.


Step 5: Configure Playlist Settings

1. Choose General Rotation for regular play or Scheduled for specific times.
2. If you want announcements, add Jingles between tracks.
3. Save your playlist.


Step 6: Start AutoDJ

1. Go to the AutoDJ control screen.
2. Click Start AutoDJ.
3. Wait for the server to begin streaming your playlist.


Step 7: Test Your Stream

  • Open your station’s public streaming link.
  • Make sure your AutoDJ is playing the correct music without interruptions.
  • Adjust volume, crossfade, or track order if needed.


Troubleshooting AutoDJ Issues

  • No Sound? – Ensure your files are in MP3 format and properly encoded.
  • Playlist Won’t Play? – Check that AutoDJ is started and assigned to your mount point.
  • Tracks Skipping? – Re-upload files or check for corrupted MP3s.


Conclusion

Setting up AutoDJ in SHOUTcast is an easy way to keep your internet radio active and professional. With the right playlists and scheduling, your station can run smoothly 24/7 without you having to be live all the time.

If you’re hosting with Sternhost, our SHOUTcast hosting plans come with an easy-to-use AutoDJ feature, fast uploads, and 99.9% uptime — perfect for keeping your listeners tuned in.

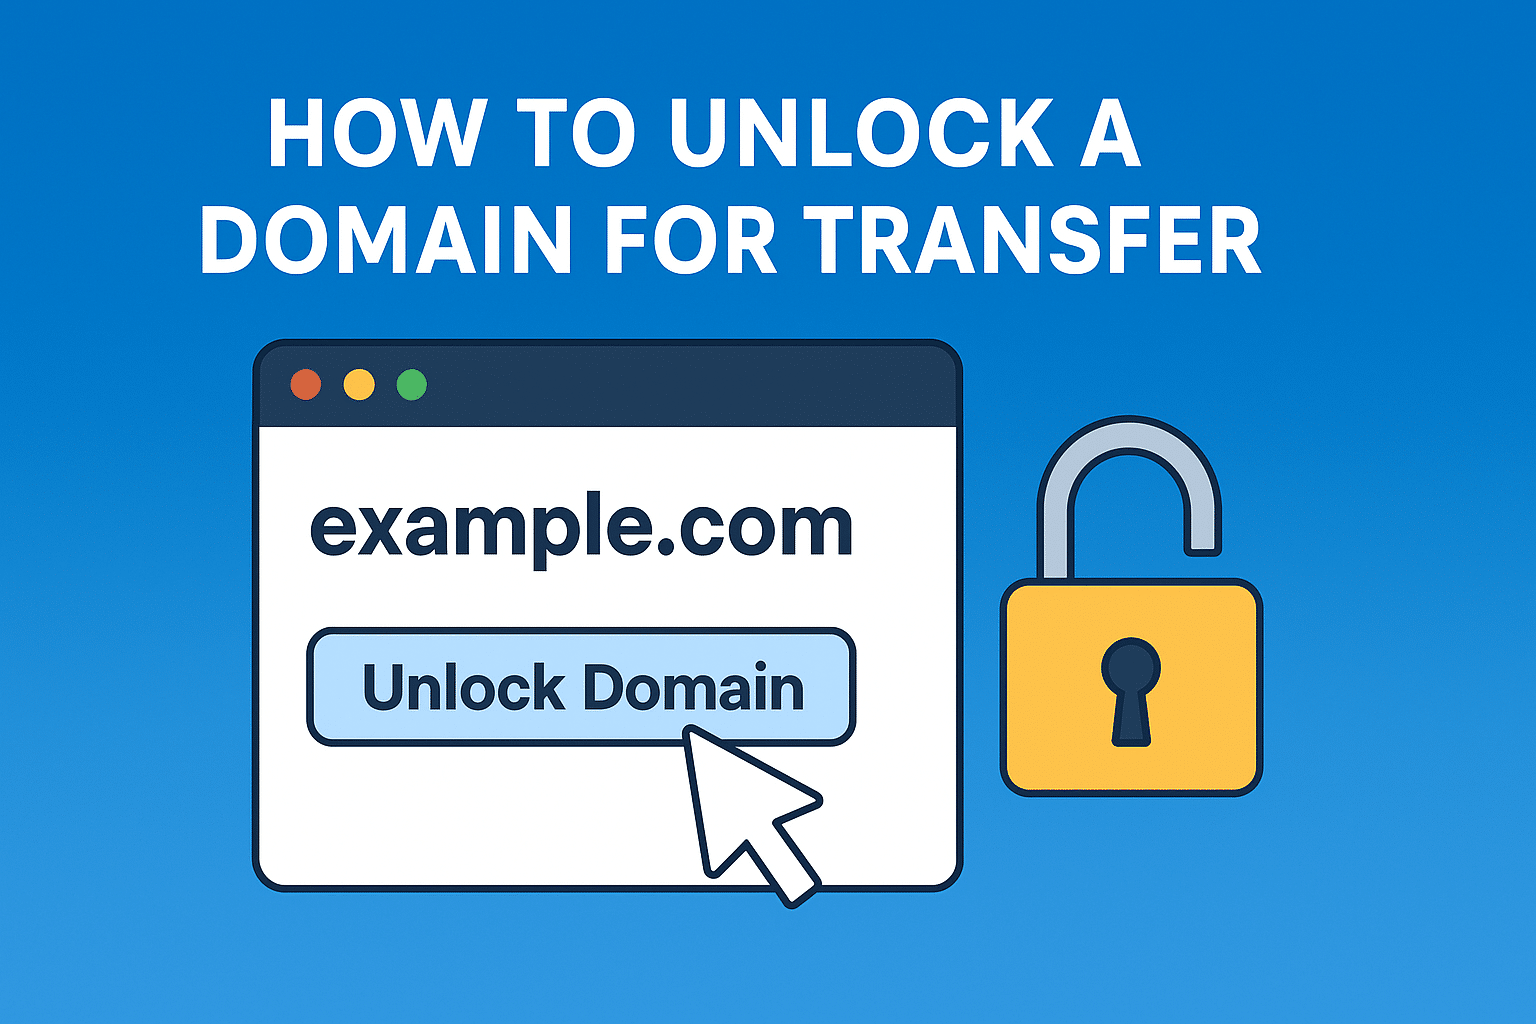
How to Unlock a Domain for Transfer

If you’re planning to move your domain from one registrar to another, the first step is to unlock your domain. By default, domains are locked to prevent unauthorized transfers, so you’ll need to disable this lock before initiating the transfer process.

This guide will walk you through how to unlock your domain for transfer using your domain management panel.


Why Domains Are Locked

Domain locking is a security feature that prevents unauthorized or accidental domain transfers. It’s an ICANN-recommended practice and is automatically enabled when you register or transfer a domain.

To proceed with a transfer, you must manually unlock it.


Step-by-Step: Unlocking Your Domain for Transfer

1. Log in to Your Domain Management Panel

  • Go to your hosting or domain registrar’s dashboard.
  • Use your account credentials to sign in.


2. Locate Your Domain

  • Navigate to the Domains section.
  • Select the domain name you wish to transfer.


3. Check the Lock Status

  • Look for a status like “Domain Lock: Enabled” or “Registrar Lock: On”.
  • If it’s enabled, you’ll need to turn it off.


4. Disable the Lock

  • Click the option to Unlock Domain or Disable Registrar Lock.
  • Confirm the action when prompted.


5. Retrieve Your Authorization Code (EPP Code)

Most registrars require this code for a domain transfer.

  • Find the EPP/Auth Code section in your domain settings.
  • Copy the code and keep it secure — you’ll need it when initiating the transfer with the new registrar.


6. Proceed with the Transfer

Once unlocked, you can start the transfer process at your new registrar.
Important: The domain will remain unlocked until the transfer completes or you manually lock it again.


Tips and Common Issues

  • Wait Period: Domains cannot be transferred within the first 60 days of registration or after a recent transfer (ICANN rule).
  • WHOIS Privacy: Some registrars require you to disable WHOIS privacy before transfer.
  • Email Address: Ensure the domain’s administrative contact email is correct to receive transfer approval messages.


Final Thoughts

Unlocking your domain is an essential step for transferring it to another registrar. Just remember to re-lock it if you decide not to proceed with the transfer to keep your domain secure.