
The Domain Name System (DNS) helps translate domain names into server addresses. Different DNS records such as A, TXT, MX, CNAME, etc., each serve a unique function. For example, the A record links a domain to its IP address, while the MX record configures the domain’s mail server. If you need to add, edit, or delete DNS records in cPanel, follow these simple steps.
Adding DNS Records in cPanel:
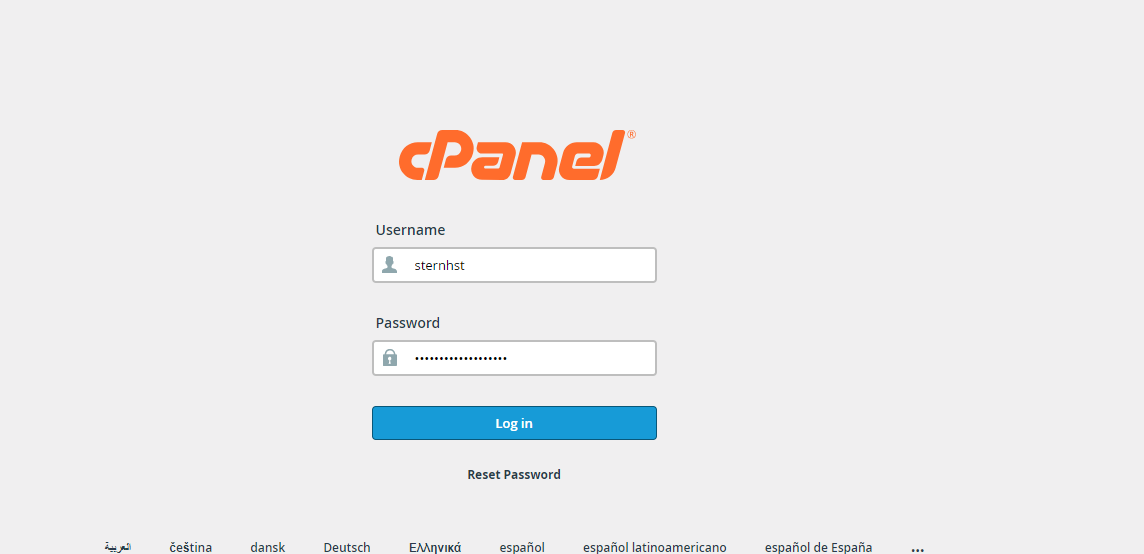
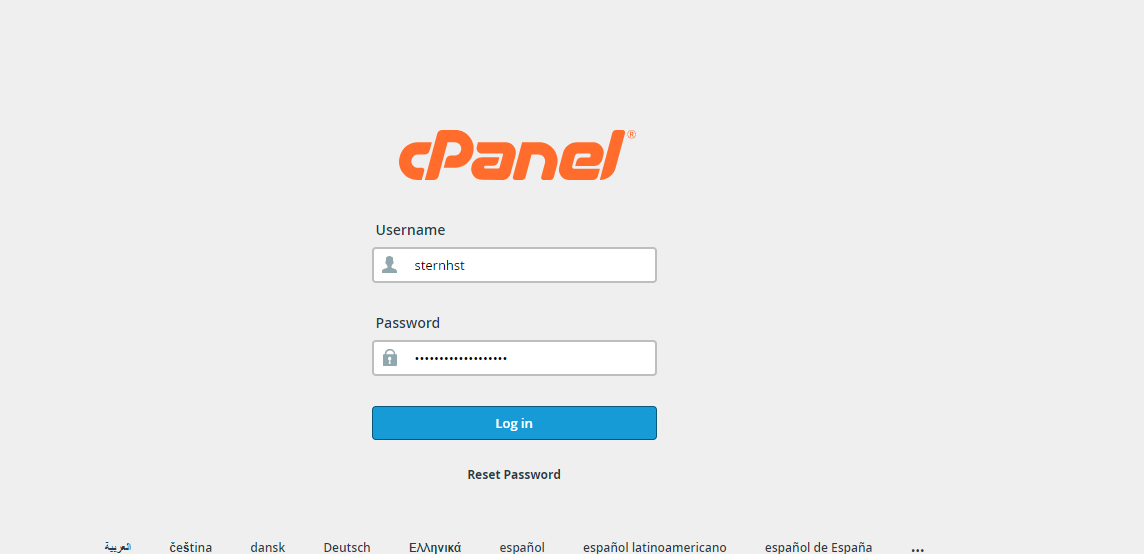
1. Access your cPanel account using your login credentials (https://yourdomain.com/cpanel).
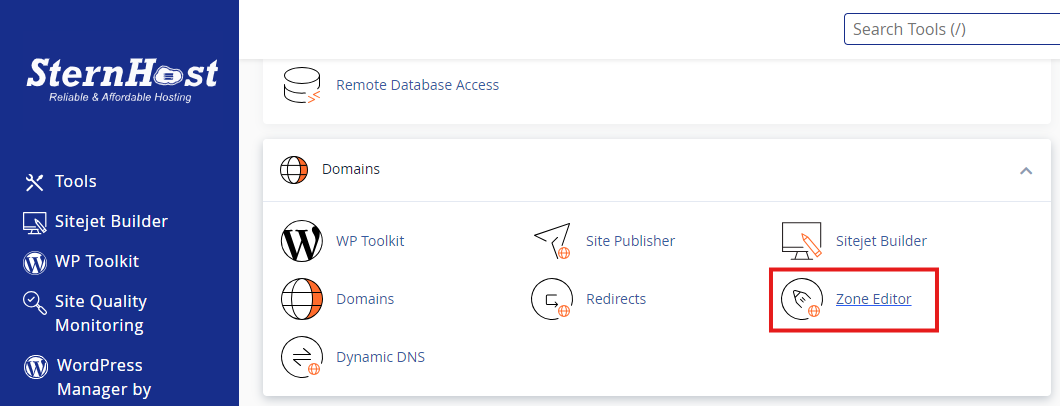
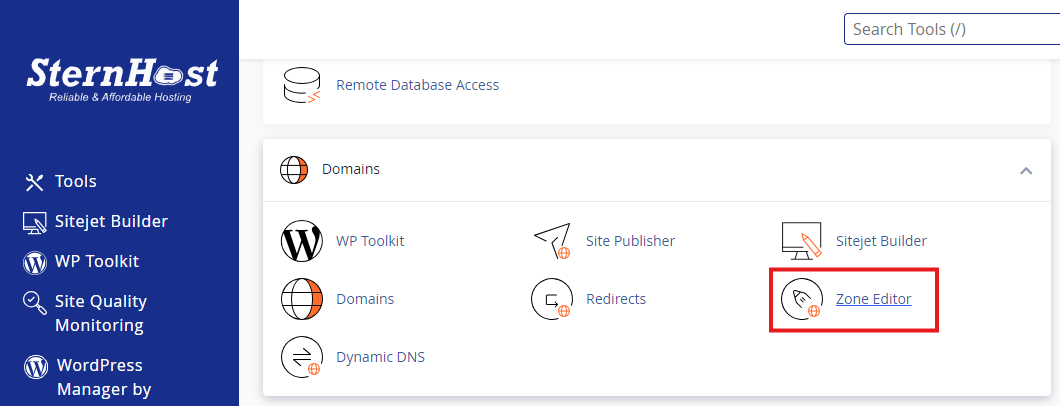
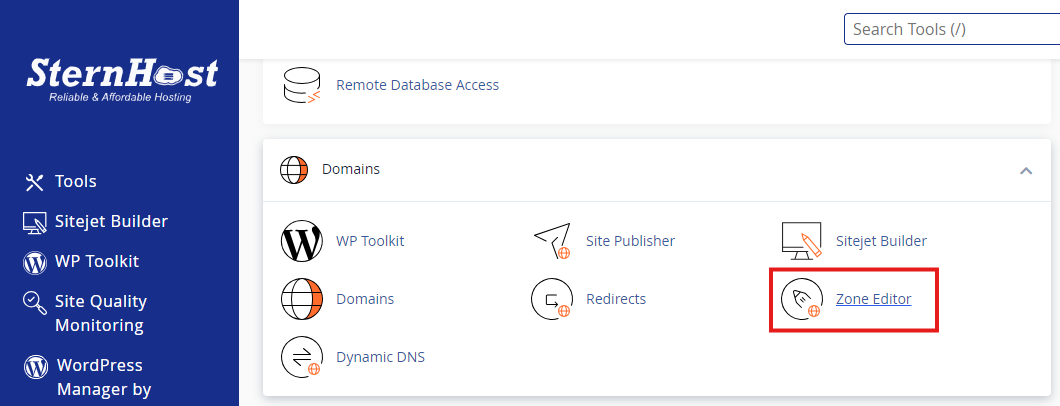
2. Go to the Domains section and click on Zone Editor.
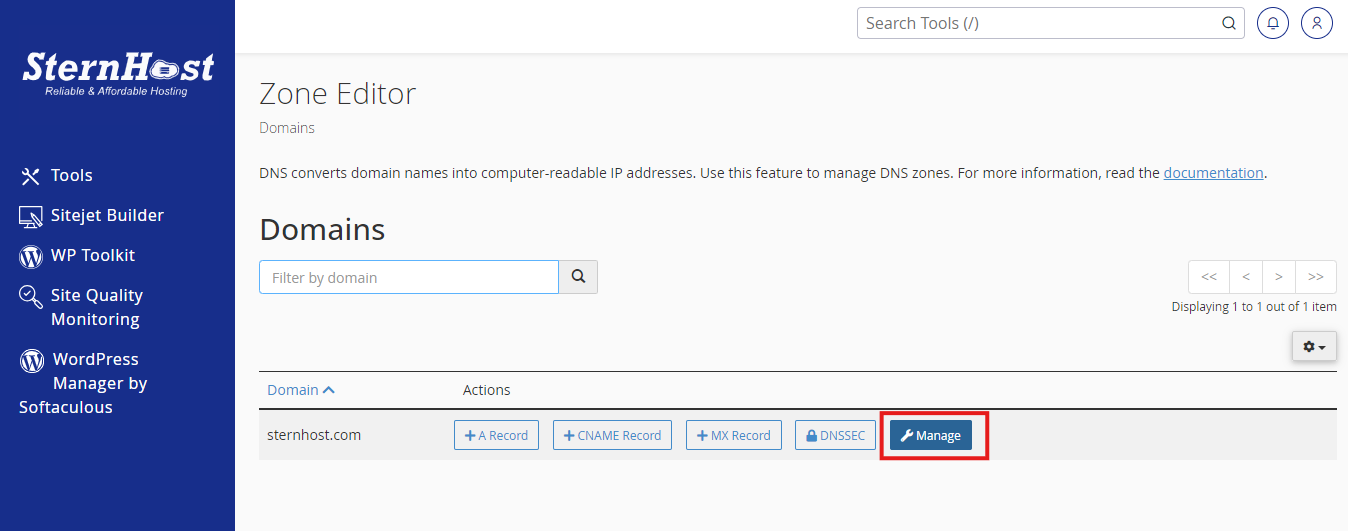
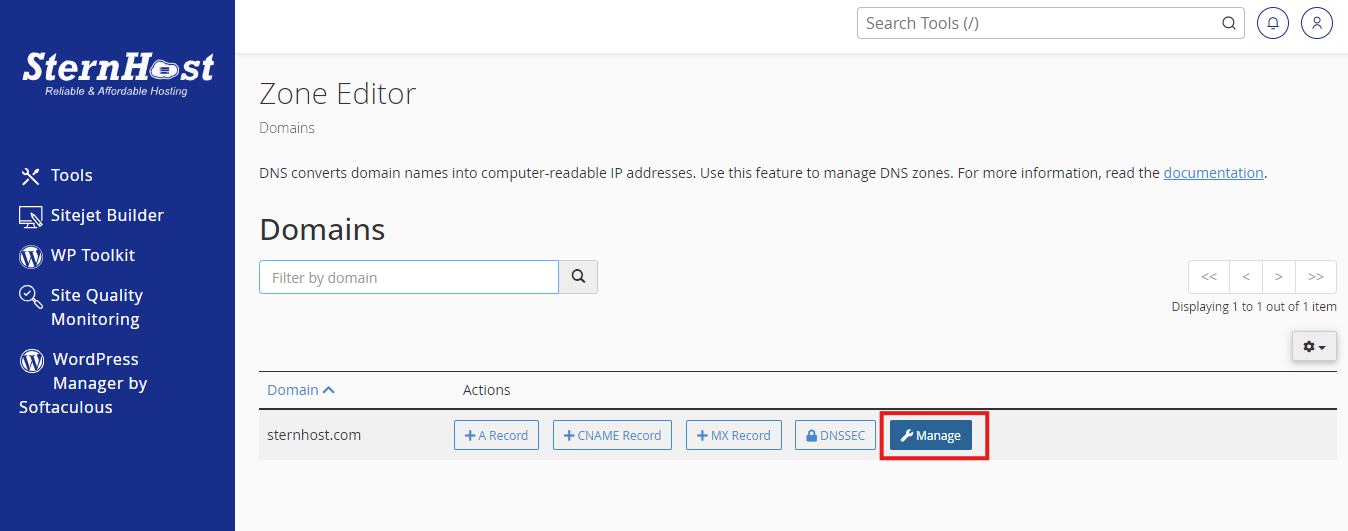
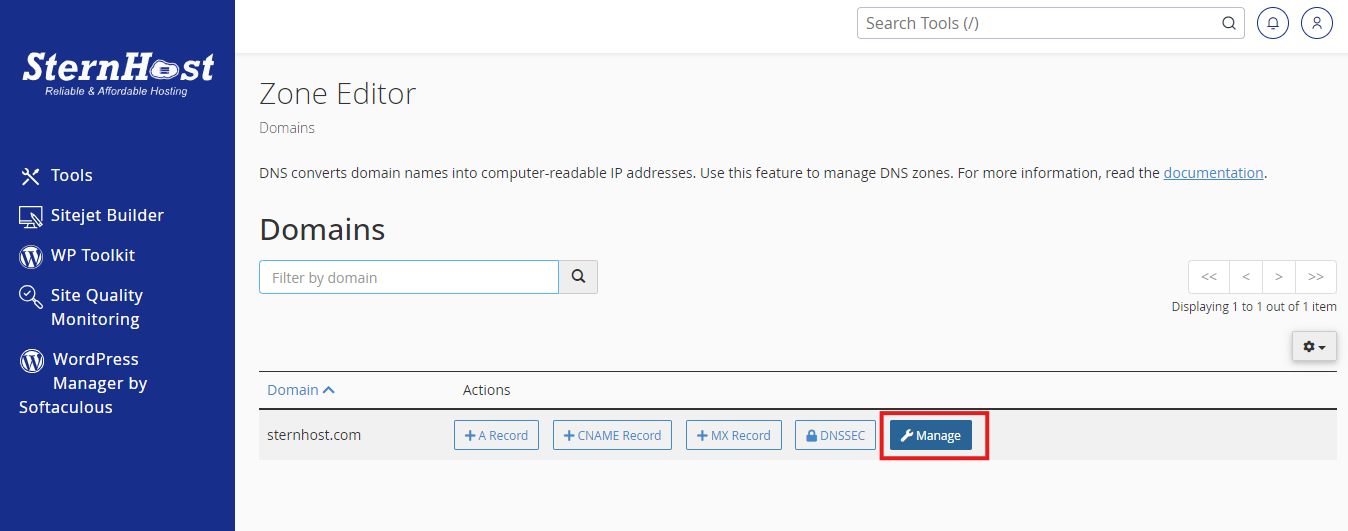
3. Find the domain you want to manage, then click on Manage.
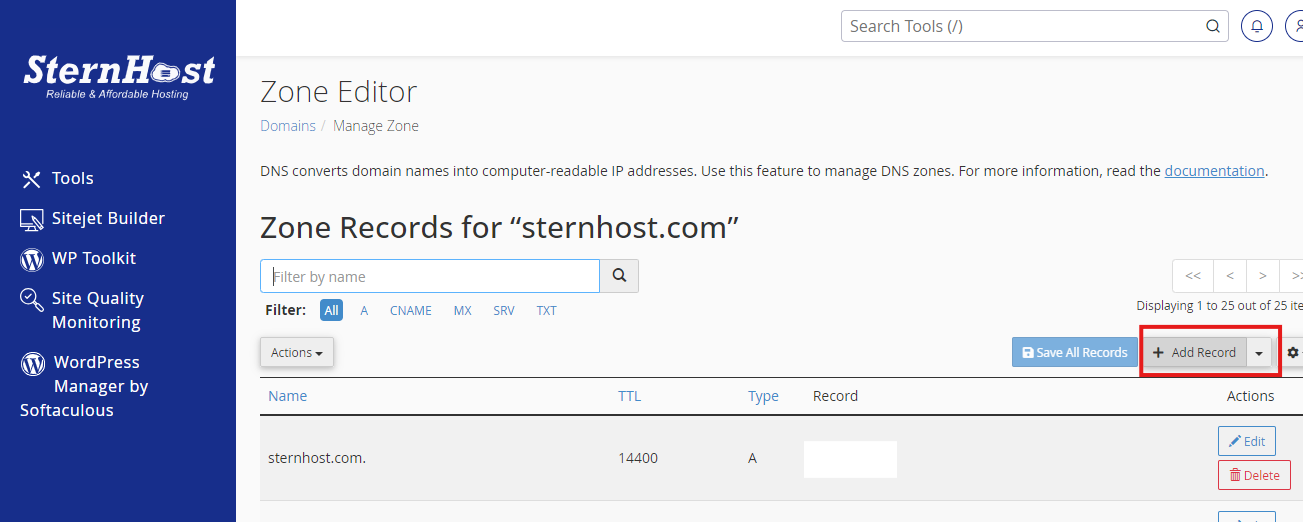
4. Select + Add Record to create a new DNS record.
5. Fill in the required fields:
-
- Zone Name: Enter the correct zone name.
- TTL (Time to Live): Set the time for DNS caching.
- Record Type: Choose from options like A, TXT, MX, CNAME, etc.
6. Once completed, click on Save Record to apply the changes.
Editing DNS Records:
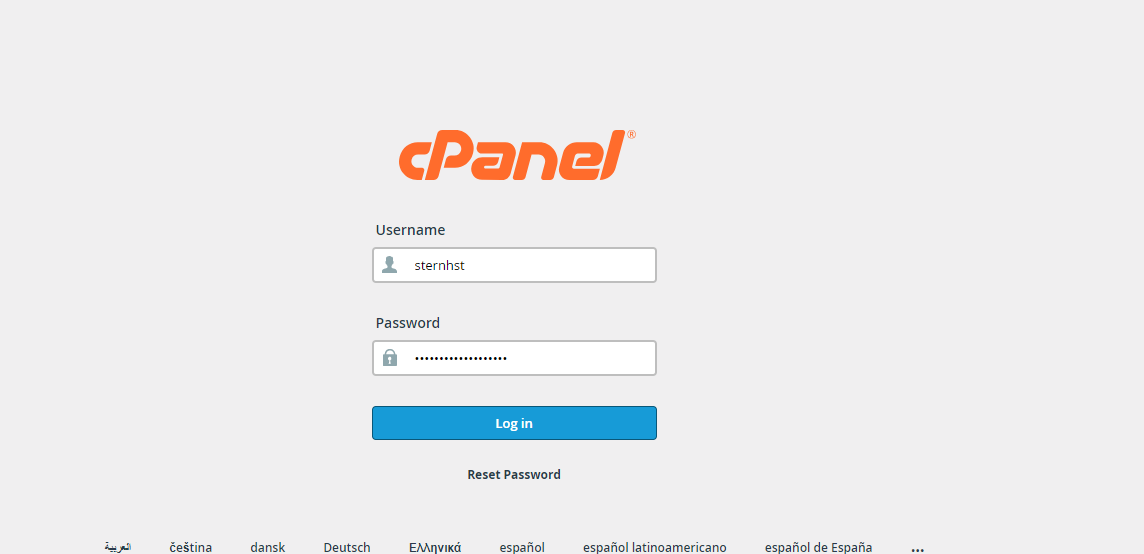
1. Log into cPanel with your username and password ( https://yourdomain.com/cpanel).
2. Head to Domains → Zone Editor.
3. Choose the domain and click on Manage.
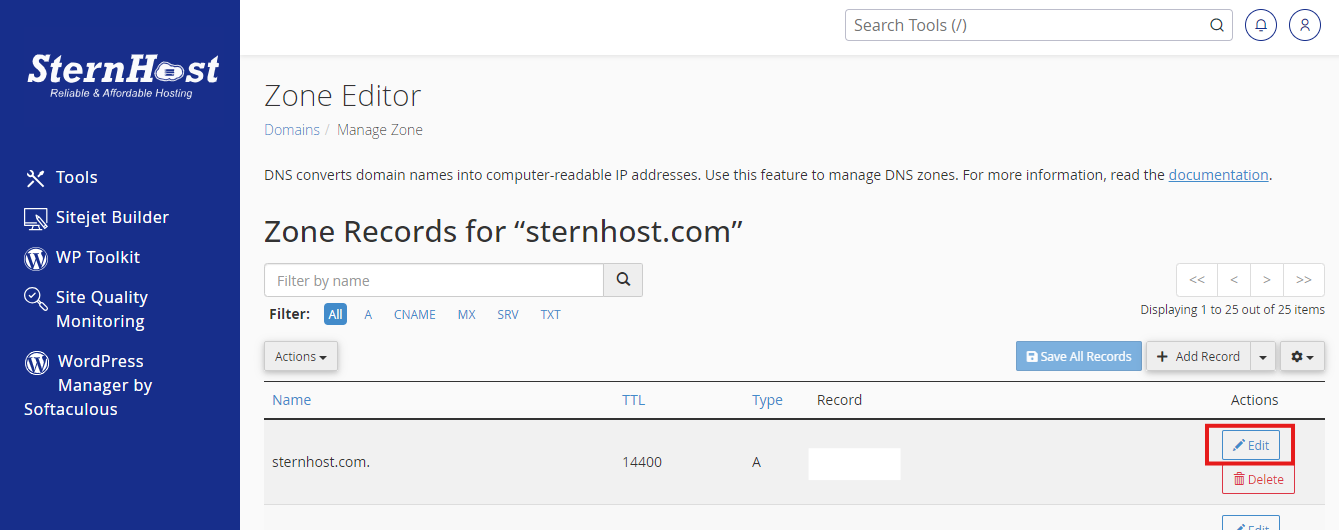
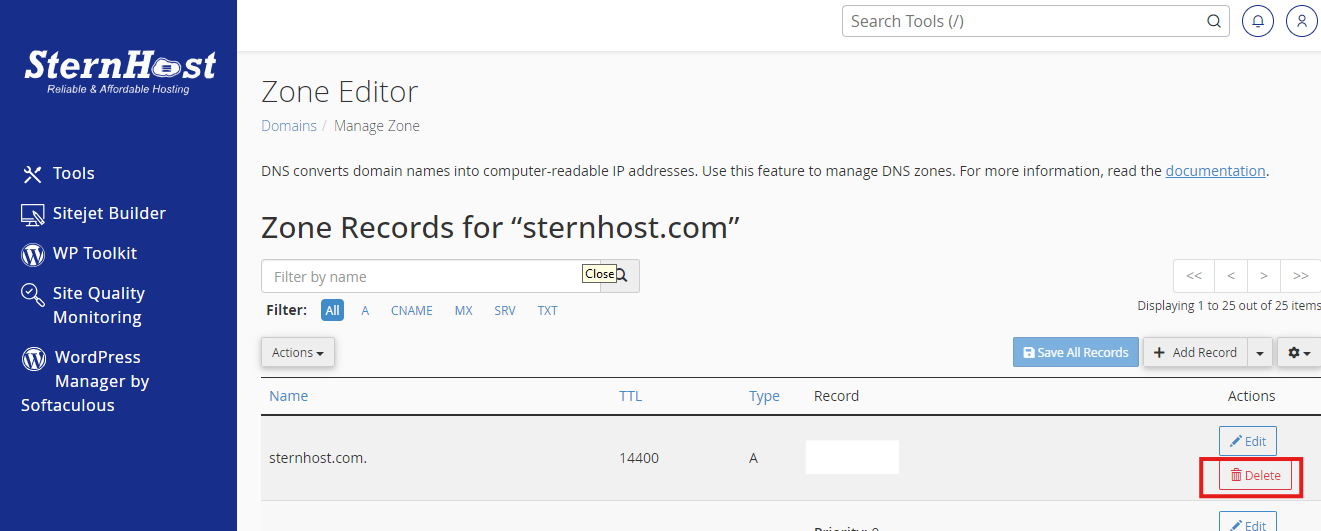
4. To modify a record, click the Edit button next to the corresponding DNS entry.
Removing DNS Records:
1. Log into cPanel (https://yourdomain.com/cpanel).
 2. Navigate to Domains → Zone Editor.
 3. Select the domain you want to manage and click Manage.
4. Delete an existing DNS record by clicking the Delete button beside it.
Conclusion:
By following this guide, you should now be able to manage DNS records within cPanel, whether you’re adding, editing, or removing entries.
At SternHost, we offer 24/7 technical support to ensure your hosting experience is seamless. If you’re not yet using SternHost, our team is ready to help you explore how we can enhance your web hosting experience.


