Archive

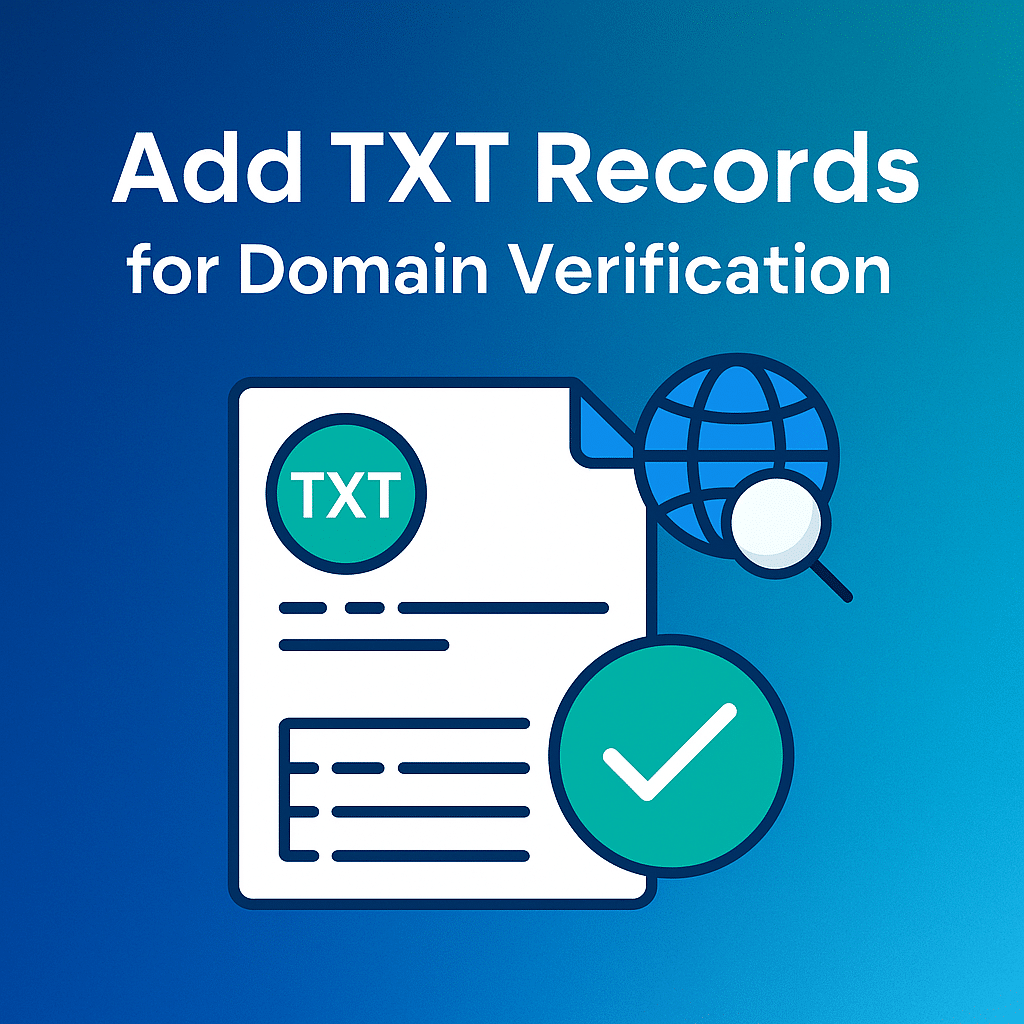
How to Add TXT Records for Domain Verification in cPanel

If you’ve ever needed to verify your domain ownership for services like Google Workspace, Microsoft 365, or SSL certificate issuance, you’ve probably been asked to add a TXT record to your domain’s DNS. In this guide, we’ll walk you through the step-by-step process of adding TXT records using cPanel.


What is a TXT Record?

A TXT (Text) record is a type of DNS record that allows you to store text information in your domain’s DNS. They’re commonly used for:

  • Domain verification (Google, Microsoft, email marketing services)
  • Email authentication (SPF, DKIM, DMARC)
  • Other custom configurations


Steps to Add a TXT Record in cPanel

1. Log in to cPanel

Access your hosting account’s cPanel dashboard.
Example: `https://yourdomain.com/cpanel`


2. Open the Zone Editor

  • In the Domains section, click Zone Editor.
  • Find the domain you want to verify and click Manage.


3. Add a TXT Record

  • Click the + Add Record button and choose Add TXT Record.
  • Fill in the details:
  • Name: This is usually your domain name, but the verification service will provide the exact value.
  • TTL: You can leave it as default (e.g., 14400 seconds).
  • Record: Paste the TXT value provided by your verification service.


4. Save Your Changes

Click Save Record to apply the changes.


5. Wait for DNS Propagation

Changes can take a few minutes to 24 hours to propagate worldwide. You can use tools like:


Troubleshooting Tips

  • Make sure there are no typos in the TXT value.
  • Only include the exact value — no extra spaces.
  • If using Cloudflare or another DNS provider, you must add the TXT record there instead of cPanel.


Final Thoughts

Adding a TXT record for domain verification is quick and straightforward once you know where to look in cPanel. With the record in place, you can verify your domain and start using the service you’re setting up — whether it’s email, analytics, or security-related.

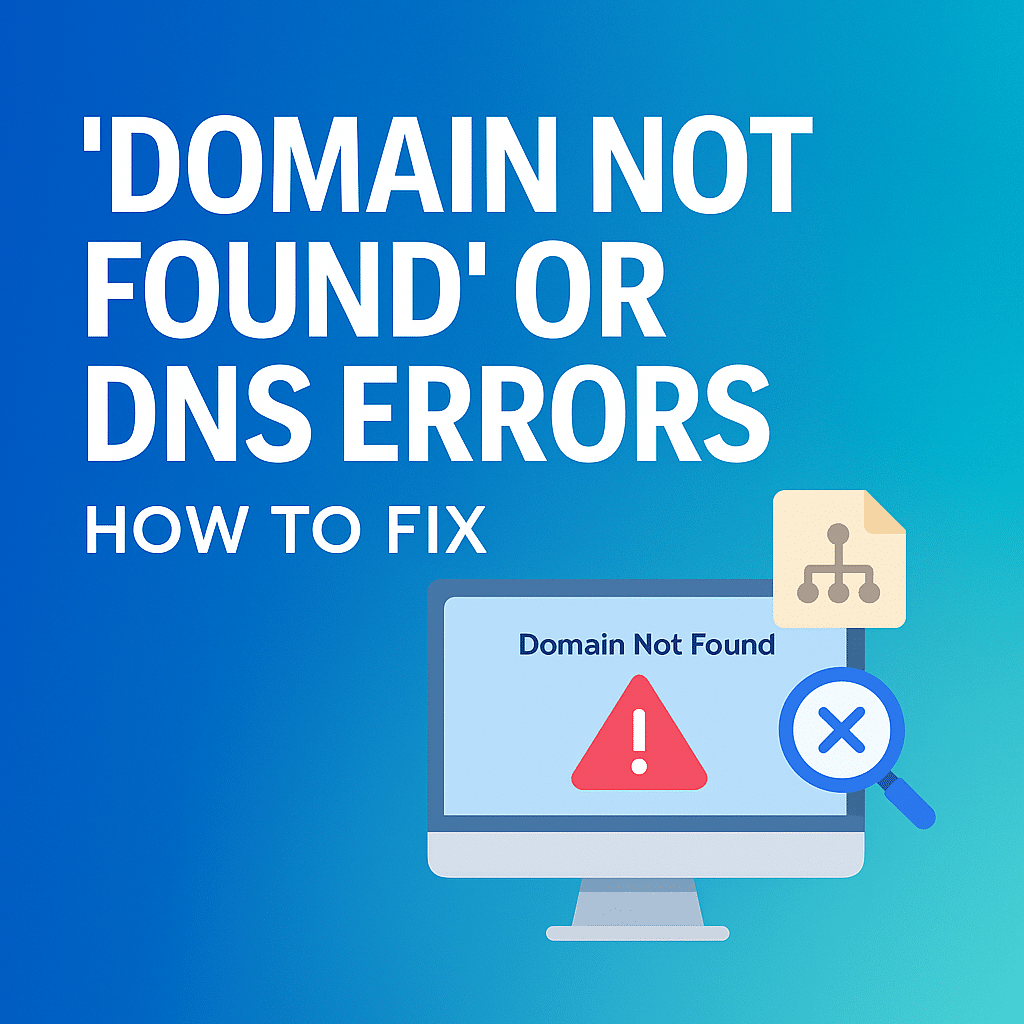
How to Fix “Domain Not Found” or DNS Errors

If you type your website’s address into a browser and see a “Domain Not Found” message or encounter DNS (Domain Name System) errors, it can be frustrating — especially if your site is live and you depend on it for business or communication.

Don’t panic. In most cases, these issues can be fixed quickly once you identify the cause. In this guide, we’ll explain what these errors mean, why they happen, and how you can resolve them.


🔍 What Does “Domain Not Found” Mean?

When you enter a domain name (like `example.com`), your browser needs to find the server where your website is hosted. The DNS works like the internet’s phonebook, translating your domain name into the server’s IP address.

If there’s a problem in this process, you’ll see messages like:

  • “Domain Not Found”
  • “Server IP Address Could Not Be Found”
  • “DNS\_PROBE\_FINISHED\_NXDOMAIN”


 ⚠️ Common Causes of Domain Not Found or DNS Errors

1. DNS Propagation Delay

When you register a new domain or update DNS records, it can take up to 48 hours for changes to propagate worldwide.

2. Incorrect DNS Records

If your domain’s A record, CNAME, or nameservers are incorrect, your site won’t be reachable.

3. Expired Domain Name

If your domain registration has expired, visitors won’t be able to reach your website.

4. Nameserver Misconfiguration

If you’re using custom nameservers but they’re not set up properly, DNS resolution will fail.

5. Hosting Server Issues

Even if DNS is correct, a server outage can cause your domain to appear offline.


How to Fix Domain Not Found or DNS Errors

1️⃣ Check Your Domain’s Registration Status

  • Use a WHOIS lookup tool to confirm your domain is active and not expired.
  • Renew your domain if needed.

2️⃣ Verify Your Nameserver Settings

  • Log in to your domain registrar’s control panel.
  • Ensure your nameservers point to your hosting provider’s correct details.
    Example:

“`
ns1.sternhost.net
ns2.sternhost.net
“`

3️⃣ Review Your DNS Records

  • In your hosting cPanel or DNS manager, confirm your A record points to your hosting server’s IP.
  • Check CNAME and MX records if using email services.

4️⃣ Allow Time for DNS Propagation

  • After making changes, wait up to 48 hours for global propagation.
  • Use tools like WhatsMyDNS.net to track updates.

5️⃣ Clear Your Local DNS Cache

  • Windows: Open Command Prompt and type:

“`
ipconfig /flushdns
“`

  • Mac: Use Terminal:

“`
sudo killall -HUP mDNSResponder
“`

 6️⃣ Contact Your Hosting Provider

If everything seems correct but your site is still down, your hosting provider may need to investigate server-side issues.


💡 Pro Tips to Prevent Future DNS Issues

  • Keep your domain registration and hosting active.
  • Use a reliable DNS provider with global coverage.
  • Document your DNS settings before making changes.
  • Enable DNSSEC for better domain security.


✅ Final Thoughts

A “Domain Not Found” or DNS error is usually caused by misconfigured records, expired domains, or propagation delays. By systematically checking each possible cause, you can usually restore your website in minutes or hours.

If you’re a Sternhost customer, our support team can help you diagnose and fix DNS issues quickly, ensuring your website stays online and accessible.

How to Check Hosting Server Status

If your website is down or loading slowly, one of the first things you should do is check the status of your hosting server. Your server’s status determines whether the problem lies with your hosting provider, your website, or local factors like internet connectivity.

With Sternhost, checking your server status is simple and reliable. In this guide, we’ll explain how to verify server uptime, detect downtime, and get back online quickly.


Why Check Hosting Server Status?

Monitoring your server status helps you:

  • Identify downtime quickly and reduce website disruptions.
  • Pinpoint issues (server-related vs. website-specific problems).
  • Ensure uptime compliance with your hosting plan.
  • Improve performance by detecting server overload or maintenance events.


Ways to Check Hosting Server Status

✅ 1. Use Sternhost’s Server Status Page

Sternhost provides a dedicated Server Status page where you can:

  • View live updates on server uptime.
  • Check scheduled maintenance notifications.
  • Confirm if there are any global or regional outages.

📌 Visit: Sternhost Server Status


✅ 2. Log in to cPanel

Your cPanel account offers built-in metrics to check:

  • Server load (CPU and memory usage).
  • Resource usage history.
  • Processes running on the server.

Steps:

1. Log in to Sternhost cPanel.
2. Go to “Metrics” → “Resource Usage”.
3. Check if the server has hit its limits or experienced slowdowns.


✅ 3. Use Third-Party Tools

For additional monitoring:

These tools allow you to monitor your server’s uptime and performance from multiple locations.


✅ 4. Check via Command Line (Advanced Users)

If you have SSH access:

“`bash
ping yourdomain.com
“`

or

“`bash
tracert yourdomain.com
“`

This checks your server response time and network path.


✅ 5. Contact Sternhost Support

If you’re unsure whether it’s a server issue, reach out to our 24/7 Support Team. We can confirm if there’s downtime and help troubleshoot.

📩 Contact Sternhost Support


What to Do If Your Server Is Down

If the server status indicates downtime:

1. Wait for Maintenance – If there’s scheduled maintenance, service will be restored shortly.
2. Clear Your Cache – Sometimes, cached DNS or browser data can cause errors.
3. Restart Your Router – Rule out local connection issues.
4. Contact Support – If downtime persists, our team will investigate and resolve it.


Best Practices for Server Monitoring

  • Set up uptime alerts with tools like UptimeRobot.
  • Regularly check the Sternhost Server Status Page.
  • Optimize your website to reduce server strain.
  • Upgrade hosting if you’re frequently hitting resource limits.

📌 View Sternhost Hosting Plans


Final Thoughts

Checking your hosting server status is the first step to diagnosing downtime and ensuring your website remains available. With Sternhost, you have multiple tools and support options to keep your website online 24/7.

Need instant help with server status?
📨 Contact Sternhost Support

Managing Multiple Websites from One Hosting Account

Running more than one website doesn’t mean you need separate hosting accounts for each. With the right hosting plan and proper setup, you can manage multiple websites from a single cPanel account.

Whether you’re a freelancer, business owner, or agency, this approach saves money, simplifies management, and allows you to centralize all your website files in one place.

In this guide, we’ll show you how to easily manage multiple websites from one hosting account with Sternhost.


Why Host Multiple Websites on One Account?

Hosting several websites under one account offers multiple benefits:

  • Cost-Effective – No need to purchase multiple hosting plans.
  • Centralized Management – Access all sites from one cPanel login.
  • Resource Efficiency – Share storage and bandwidth between sites.
  • Scalability – Easily add new sites as your business grows.
  • Streamlined Billing – One hosting plan, one payment.


Requirements for Hosting Multiple Websites

Before adding more sites to one account, ensure:

  • You have a Sternhost hosting plan that supports addon domains.
  • Your additional domain names are registered (through Sternhost or another provider).
  • You have access to your hosting account’s cPanel.


How to Add Multiple Websites in cPanel

Follow these steps to add an additional website:

✅ Step 1: Log in to Your cPanel

Go to Sternhost cPanel Login and sign in with your credentials.


✅ Step 2: Add a New Domain

1. Go to the “Domains” section in cPanel.
2. Click “Addon Domains”.
3. Enter the new domain name.
4. Choose the document root (the folder where the website files will be stored).
5. Click “Add Domain”.


✅ Step 3: Upload Website Files

  • Go to File Manager in cPanel.
  • Navigate to the newly created domain folder (inside `/public_html/`).
  • Upload your website files or install a CMS (e.g., WordPress)


✅ Step 4: Point Your Domain

Update your domain’s DNS settings:

  • Set your nameservers to Sternhost’s nameservers.
  • Wait for DNS propagation (usually 2–24 hours).


✅ Step 5: Install SSL Certificates

For security:

1. In cPanel, go to “SSL/TLS Status”.
2. Click “Run AutoSSL” to generate a free SSL certificate for your domain.


Tips for Managing Multiple Websites

  • Keep files organized: Use separate folders for each domain.
  • Use strong passwords for each site’s CMS and database.
  • Monitor resource usage: Use cPanel’s metrics to track CPU, RAM, and bandwidth.
  • Set up backups: Use CodeGuard to back up all your websites.
  • Install security plugins for each site to avoid cross-site infections.


When to Consider Upgrading

If your websites are growing and consuming more resources:

📌 [View Sternhost Hosting Plans


Final Thoughts

Managing multiple websites from a single hosting account is not only cost-effective but also efficient. With Sternhost’s cPanel hosting, you can add and organize your sites easily while maintaining top performance and security.

Need help adding more sites to your account?
📨 Contact Sternhost Support

How to Monitor Bandwidth Usage in cPanel

Bandwidth is one of the most important resources in web hosting. It determines how much data your website can transfer between the server and your visitors. If you exceed your bandwidth limit, your site may slow down or even become temporarily unavailable.

Fortunately, cPanel offers built-in tools to help you monitor your bandwidth usage in real-time. In this guide, we’ll show you how to track your usage, interpret the data, and optimize your bandwidth to keep your site running smoothly with Sternhost.


What is Bandwidth in Web Hosting?

Bandwidth is the amount of data your website transfers to users in a specific period, usually measured in gigabytes (GB) per month. It includes:

  • Page loads
  • File downloads and uploads
  • Streaming media
  • Email usage
  • API calls or automated bots

When you host with Sternhost, each plan comes with a set bandwidth allocation based on your hosting package.


Why Monitoring Bandwidth Matters

Monitoring bandwidth usage is crucial because it helps you:

  • Avoid overage charges or service interruptions.
  • Identify unusual traffic spikes caused by bots or attacks.
  • Optimize website performance for users.
  • Plan for upgrades when your site traffic grows.


How to Check Bandwidth Usage in cPanel

Follow these steps to monitor bandwidth usage:

✅ Step 1: Log in to Your cPanel Account

Go to Sternhost cPanel Login and sign in with your hosting credentials.


✅ Step 2: Locate the Bandwidth Tool

1. Scroll to the Metrics section.
2. Click on “Bandwidth”.

This will open the bandwidth monitoring dashboard.


✅ Step 3: Review Bandwidth Graphs

The bandwidth page provides:

  • Hourly, daily, and monthly graphs of data transfer.
  • Traffic by protocol (HTTP, IMAP, FTP, etc.).
  • Historical usage trends to help you spot changes.


✅ Step 4: Check Detailed Usage

You can also:

  • View usage by domain or subdomain if you have multiple websites.
  • Check email and FTP transfer separately.
  • Identify sudden spikes in specific areas.


Tips to Reduce Bandwidth Usage

If you notice high bandwidth usage:

  • Enable caching using plugins like WP Rocket or LiteSpeed Cache.
  • Optimize images (compress using tools like TinyPNG or WebP format).
  • Use a Content Delivery Network (CDN) such as Cloudflare.
  • Block malicious bots using firewalls or security plugins.
  • Remove unused files or large downloads hosted on your site.


When to Upgrade Your Hosting Plan

If you frequently hit your bandwidth limit, it may be time to upgrade your hosting plan. With Sternhost, you can easily scale up to a larger plan or switch to VPS or dedicated hosting for higher traffic websites.

📌 View Sternhost Hosting Plans


Final Thoughts

Monitoring bandwidth usage in cPanel is simple but essential for keeping your website fast, secure, and online. By tracking your usage regularly and applying optimization techniques, you can prevent downtime and provide a seamless experience for your visitors.

Need help checking your bandwidth or upgrading your plan?
📨 Contact Sternhost Support

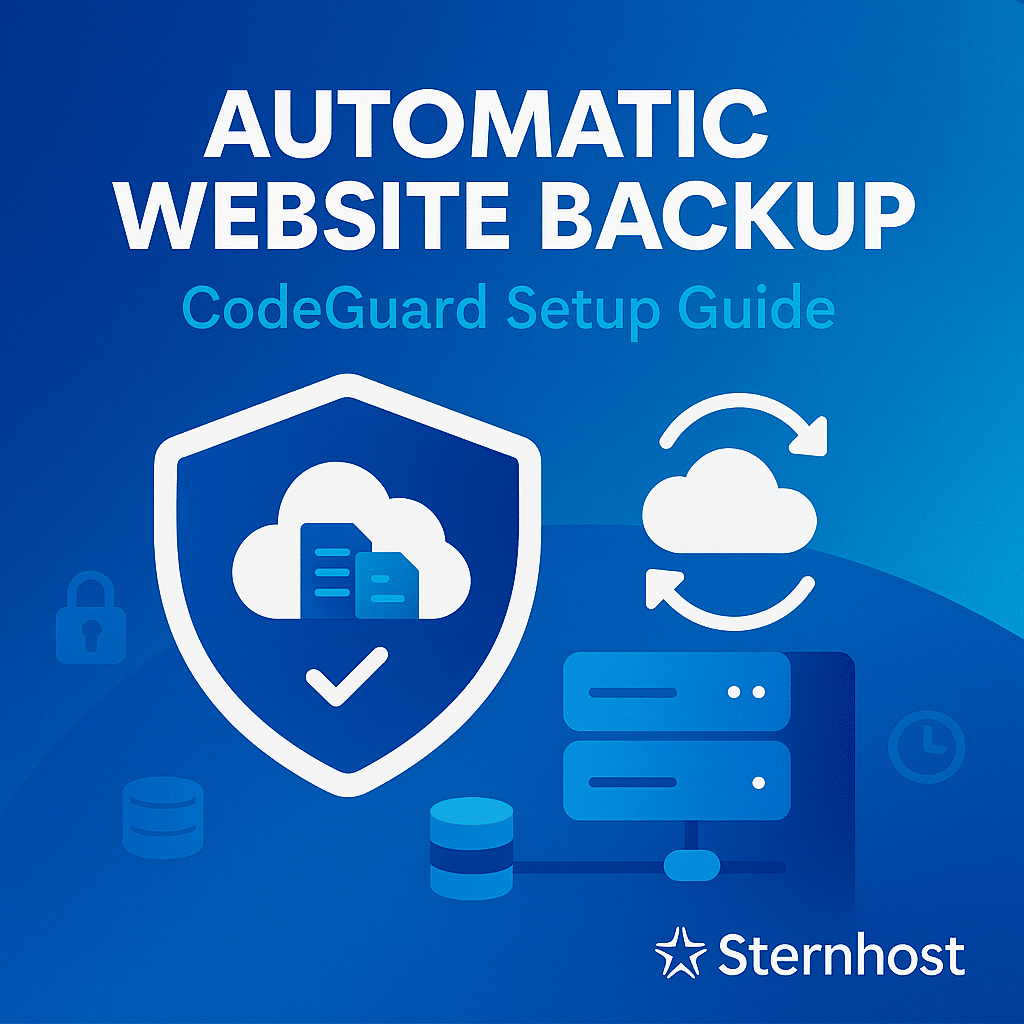
Setting Up CodeGuard for Automatic Website Backup

Your website is your business’s digital home. But what happens if it crashes, gets hacked, or you accidentally delete a file? Without a proper backup solution, recovery can be stressful and costly.

This is where CodeGuard comes in. With Sternhost, you can easily set up CodeGuard automatic backups, ensuring your site and database are protected and recoverable at any time.

In this guide, we’ll walk you through how to set it up in just a few steps.


What is CodeGuard?

CodeGuard is an automated website backup service that:

  • Backs up your website files and databases daily.
  • Stores backups securely in the cloud.
  • Allows you to restore your site in one click.
  • Notifies you of any changes made to your website.

Whether you’re running a blog, e-commerce store, or business site, CodeGuard keeps your data safe and gives you peace of mind.


Why Use CodeGuard?

  • 🔄 Daily Automatic Backups – No manual work required.
  • 🔒 Secure Storage – Backups are encrypted and stored offsite.
  • 🛠️ Easy Restore – Recover your website or individual files instantly.
  • 📧 Change Notifications – Get alerted when files are modified.
  • 💼 Business Continuity – Protects against hacks, malware, and accidental deletion.


How to Set Up CodeGuard for Your Website

✅ Step 1: Purchase a CodeGuard Plan

1. Log in to your Sternhost Client Area.
2. Go to Services → Add-ons → CodeGuard.
3. Choose the plan that matches your website size and needs.
4. Complete your order.


✅ Step 2: Access CodeGuard Dashboard

Once your purchase is complete:

1. Go to Services → My Services in the client area.
2. Select your hosting package with CodeGuard.
3. Click “Login to CodeGuard” to access the dashboard.


✅ Step 3: Connect Your Website

1. Click “Add Website” in the CodeGuard dashboard.
2. Enter your FTP/SFTP or cPanel credentials.
3. Verify connection to your hosting server.
4. Select the directory where your website files are stored (usually `/public_html`).


✅ Step 4: Configure Database Backup (Optional)

If your website uses a database (e.g., WordPress, Joomla):

1. Click “Add Database”.
2. Provide the database host, username, and password.
3. Test the connection to confirm.


Step 5: Enable Automatic Backups

Once connected:

  • CodeGuard will begin creating your first backup.
  • From then on, it will automatically back up your site daily.

You’ll receive email notifications whenever a backup or file change occurs.


Restoring Your Website from CodeGuard

To restore your site:

1. Log into your CodeGuard dashboard.
2. Select your website.
3. Click “Restore” and choose the backup date.
4. Select “Full Site Restore” or “Individual File Restore.”
5. Confirm, and CodeGuard will begin restoring your site.


Best Practices for Using CodeGuard

✅ Check your daily backup status in the dashboard.
✅ Keep your FTP and database credentials updated in CodeGuard.
✅ Use manual backup before major site changes.
✅ Pair CodeGuard with security tools like Imunify360 for maximum protection.


Why Use CodeGuard with Sternhost?

Sternhost simplifies the entire process with:

  • One-click CodeGuard setup
  •  24/7 technical support
  • Automated monitoring and secure storage
  • Affordable plans for any website size

📌 Get CodeGuard Now

Final Thoughts

Your website is too valuable to leave unprotected. By setting up CodeGuard automatic backups with Sternhost, you ensure that even if the worst happens, your site can be restored in minutes.