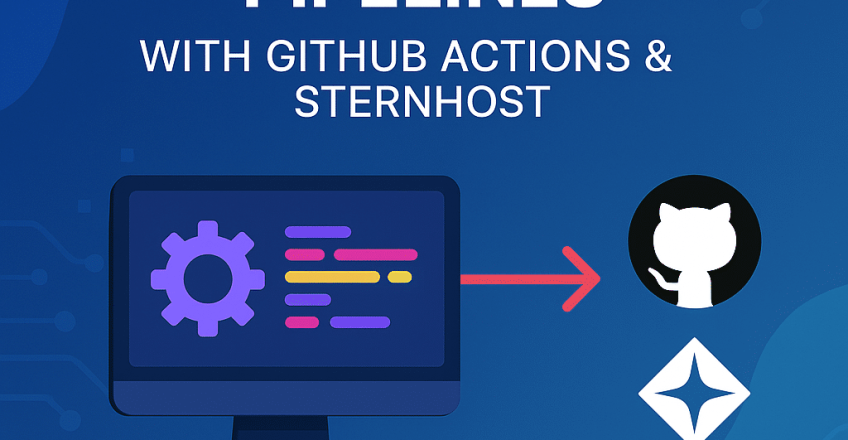
Continuous Integration and Continuous Deployment (CI/CD) isn’t just for big tech companies anymore. With Sternhost and GitHub Actions, you can easily set up a pipeline that automatically deploys your code every time you push to your repository. This guide will walk you through setting up your own CI/CD pipeline, so you can ship faster and more confidently.
Why Set Up CI/CD on Sternhost?
- Faster Deployments: Your updates go live automatically without manual uploads.
- Fewer Mistakes: Automated tests and builds catch issues before they reach your live site.
- Professional Workflow: Impress clients and collaborators with seamless updates.
- Focus on Coding: Spend less time managing servers and more time building.
Prerequisites
- A Sternhost hosting account (preferably VPS or Cloud hosting for SSH access)
- A GitHub account
- Your project hosted in a GitHub repository
- SSH access to your Sternhost server
If you don’t have hosting yet, check out Sternhost plans — affordable and ready for developers!
Step 1: Set Up SSH Access
First, make sure you can SSH into your Sternhost server.
- Generate an SSH key (if you don’t have one):
ssh-keygen -t rsa -b 4096
- Add your public key to your Sternhost server through the control panel or manually via
.ssh/authorized_keys. - Test the connection:
ssh youruser@yourdomain.com
If it connects without asking for a password, you’re good!
Step 2: Add SSH Key to GitHub Secrets
- Go to your GitHub repo → Settings → Secrets and Variables → Actions.
- Create a new secret:
- Name:
HOST_SSH_KEY - Value: (paste your private key here — usually in
~/.ssh/id_rsa)
- Name:
Important: Keep this private key safe!
Also add:
HOST_USER→ your Sternhost server usernameHOST_SERVER→ your domain or IP addressHOST_DIR→ the directory you want to deploy to (e.g.,/home/youruser/app/)
Step 3: Create Your GitHub Action
Inside your GitHub repo, create a new file:
.github/workflows/deploy.yml
Paste this into it:
name: Deploy to Sternhost

on:
  push:
    branches:
      - main

jobs:
  deploy:
    runs-on: ubuntu-latest
    steps:
      - name: Checkout code
        uses: actions/checkout@v3

      - name: Deploy via SSH
        uses: appleboy/ssh-action@master
        with:
          host: ${{ secrets.HOST_SERVER }}
          username: ${{ secrets.HOST_USER }}
          key: ${{ secrets.HOST_SSH_KEY }}
          script: |
            cd ${{ secrets.HOST_DIR }}
            git pull origin main
            npm install # or your build commands
            pm2 restart all # if you're using a Node app
✨ You can customize the script section depending on your project’s language (PHP, Node.js, Python, etc.)
Step 4: Push and Deploy!
- Commit and push your changes to GitHub.
- Watch your GitHub Actions tab — your code will automatically deploy to Sternhost!
Bonus Tips
- Testing Before Deploying: Add unit tests or build checks before pulling the code.
- Zero Downtime Deployment: Use tools like PM2 or Docker for advanced strategies.
- Notification on Success/Failure: Integrate Slack, Discord, or email notifications.
Final Thoughts
With GitHub Actions and Sternhost, you’re ready to take your website or app to the next level. Set it up once, and deploy with total confidence — no FTP, no manual mistakes, just clean, professional automation.
Ready to build faster? 🚀
Get Started with Sternhost